
Applies to: Lasernet Core 10
The Lasernet License Manager is used to administer your licenses for Lasernet Server and Lasernet Developer. The application also enables you to add and remove Lasernet service instances.
This article describes how to use the License Manager applications to add a service instance and activate a license.
Video Tutorial
Learn how to activate a license with the help of our video tutorial: https://kb.lasernet.online/docs/lasernet-license-manager
Add Service Instance
Lasernet service instances are not added automatically by the installer. To add one manually, follow these steps:
Open Lasernet License Manager from the Lasernet Launcher or the program folder and click the Add button, then select Lasernet Service from the dropdown menu.

Type an instance name and free port number unused by other applications running on the same server.
We recommend that the name of your Lasernet service instance describes its primary function, so that it is easy to identify. For example, Default, Prod, PreProd, Development, or a company or location ID.
The port number must be unique and not used by other Lasernet service instances or applications running on the same server. By default, Lasernet suggests port 3279.

Click OK to accept the settings.
You will now be prompted to insert an activation code. A valid server activation code starts with SRV and contains eight groups of four characters each, for example, SRV-BMDS-SUGX -ABCD-EFGH-IJKL-MNOP-QRST for the Lasernet service. The Developer code begins with DEV.
Insert your activation code and click OK.
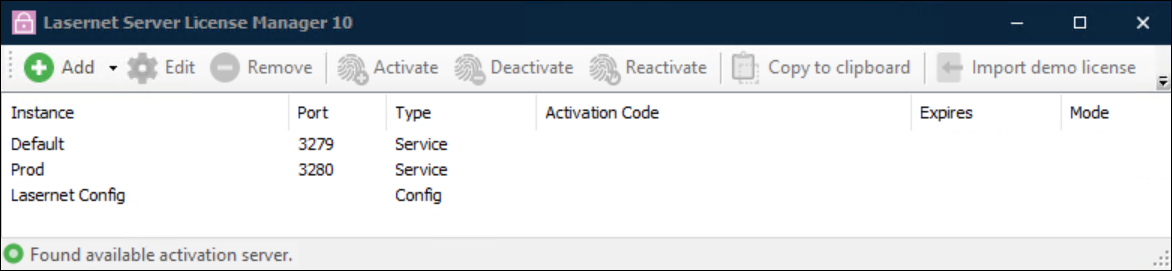
When the activation code has been accepted, you will be able to view the list of activated instances:

Note
From Lasernet 10.2, the Lasernet License Manager is divided into two applications:
Lasernet Developer
- Lasernet Developer License Manager
Lasernet Server
- Lasernet Server License Manager
To protect your activation code, part of it is obscured with asterisks. If you want to see the activation code in full, right-click the instance in Lasernet License Manager and select Copy to clipboard. By default, you can add up to five instances of the Lasernet 10 service, each with a unique port number. If support for additional instances is required, contact your reseller for more information.
Note
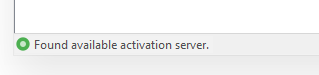
The indicator at the bottom left of the license manager shows if it is able to reach our activation server. A green circle means an available activation server has been found, whereas a yellow circle means there was no activation server found.
Online Activation
Lasernet License Manager can be used to add new instances of the Lasernet service or to activate, deactivate, or reactivate an activation code for existing instances.
To activate an instance, follow these steps:
Select the required instance and click the Activate button in the toolbar.
Enter the activation code and click OK.
Info
To activate a Lasernet server instance or Lasernet Developer, an internet connection is required. Once activated, an internet connection is no longer required.
Important
Configure firewalls to allow connections to the following license activation servers:
lasernet-activation-01.lasernet.services
lasernet-activation-02.lasernet.servicesThe names and IP addresses of license activation servers may change at any time without advance notice.
The protocol used is HTTPS.
When the activation code is accepted, the instance of Lasernet Service 10 will be running with the modules and packages attached to your license.
Note
If you want to move the software to another computer, you must deactivate your license before uninstalling and installing it on another computer.