Applies to: Lasernet Core 10
Run and verify module settings.
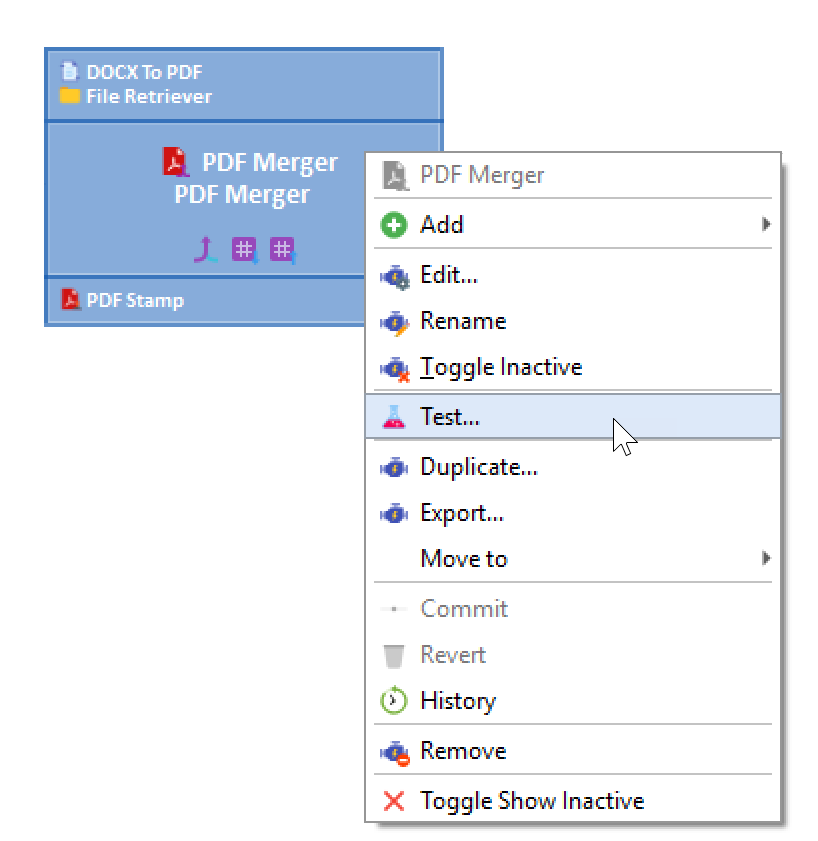
Right click on any module in the configuration and select Test… to run the Lasernet Module Tester.
The Lasernet Module Tester is a built-in application that can process incoming jobs and run the module similarly to the Lasernet Job Engine. Each action added to a module can be inspected one by one, and you can preview the contents of the output and all the log messages as you step through all the actions.
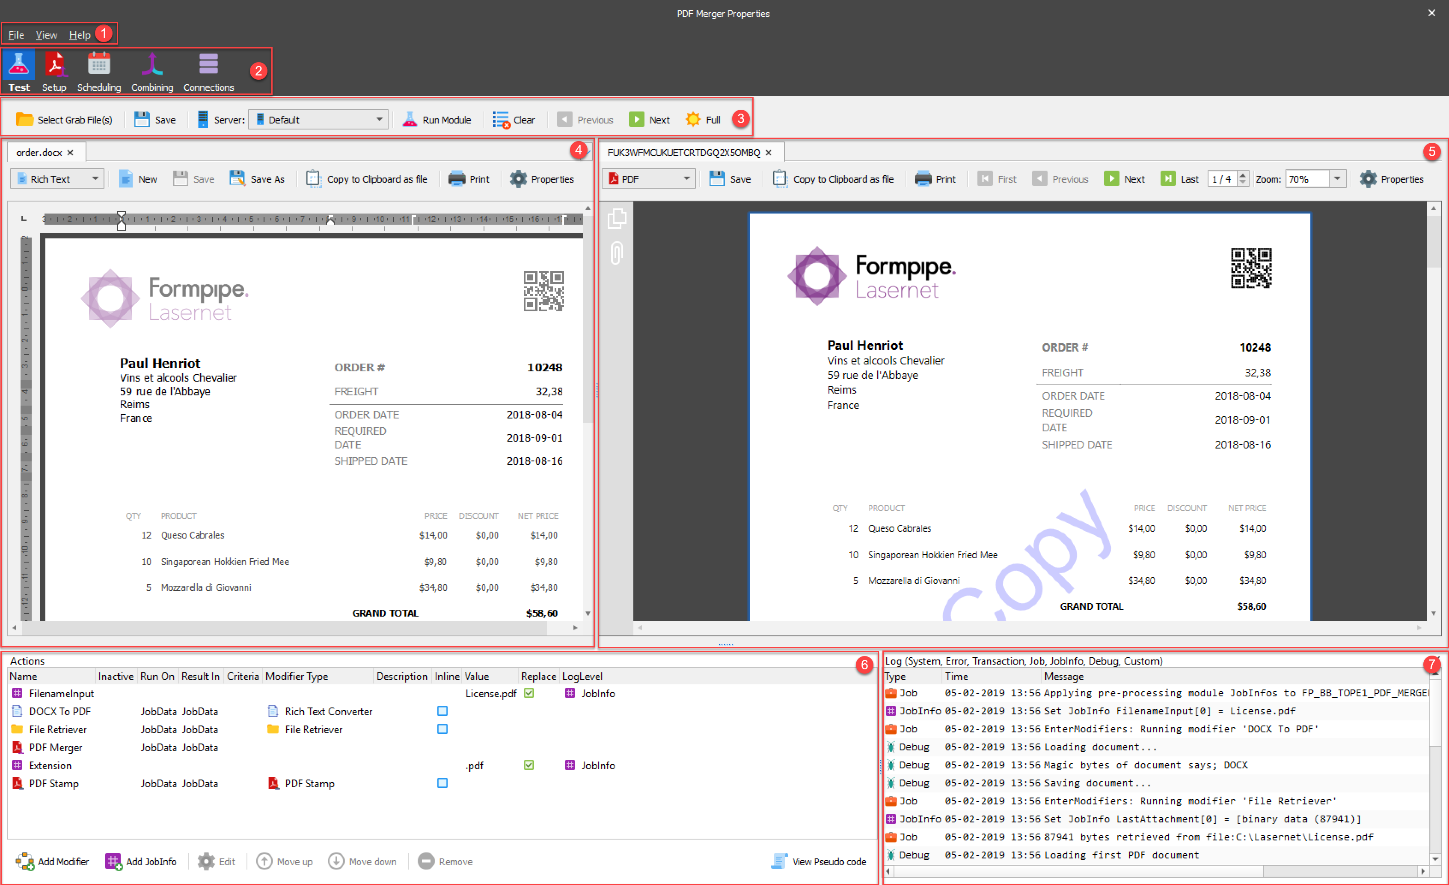
Menu Bar (1)

From the File menu you can Save all the settings or Close the Lasernet Module Tester. From the View menu you can activate additional window views for JobInfos and Logger windows and customize the log events in the Logger window.
Tool Bar (2)
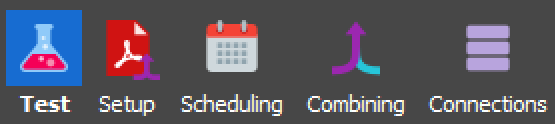
Select the Test button in the tool bar to show the contents of input- and output jobs, test buttons and action list. The Setup, Scheduling, Combining and Connections are standard buttons present in most modules and are used to configure job processing. The list of functions in the tool bar varies from module to module, depending on features and functions.
Action Bar (3)
The Lasernet Module Tester has two different action bars depending on the type of module. An action bar for input modules, where the incoming test job(s) are retrieved, removed and processed directly from the input, which the input module is connected to. Job Processing is started when you click the Start JobEngine button.

Another action bar is present for engines and output modules. Incoming test job(s) are selected from the Select Grab File(s) dialog and the Run Module button is used to process all settings and actions added to the module.

Click the Clear button to clear the logger window (if it is active). Use Previous and Next to step through the modifier and JobInfo actions one by one. Click the Full button to see changes from all actions.
For output modules, the result of the test will be saved, posted or emailed depending on the module type, directly to the target defined in the settings of the module, similar to the Lasernet Core Service.
Left Window (4)
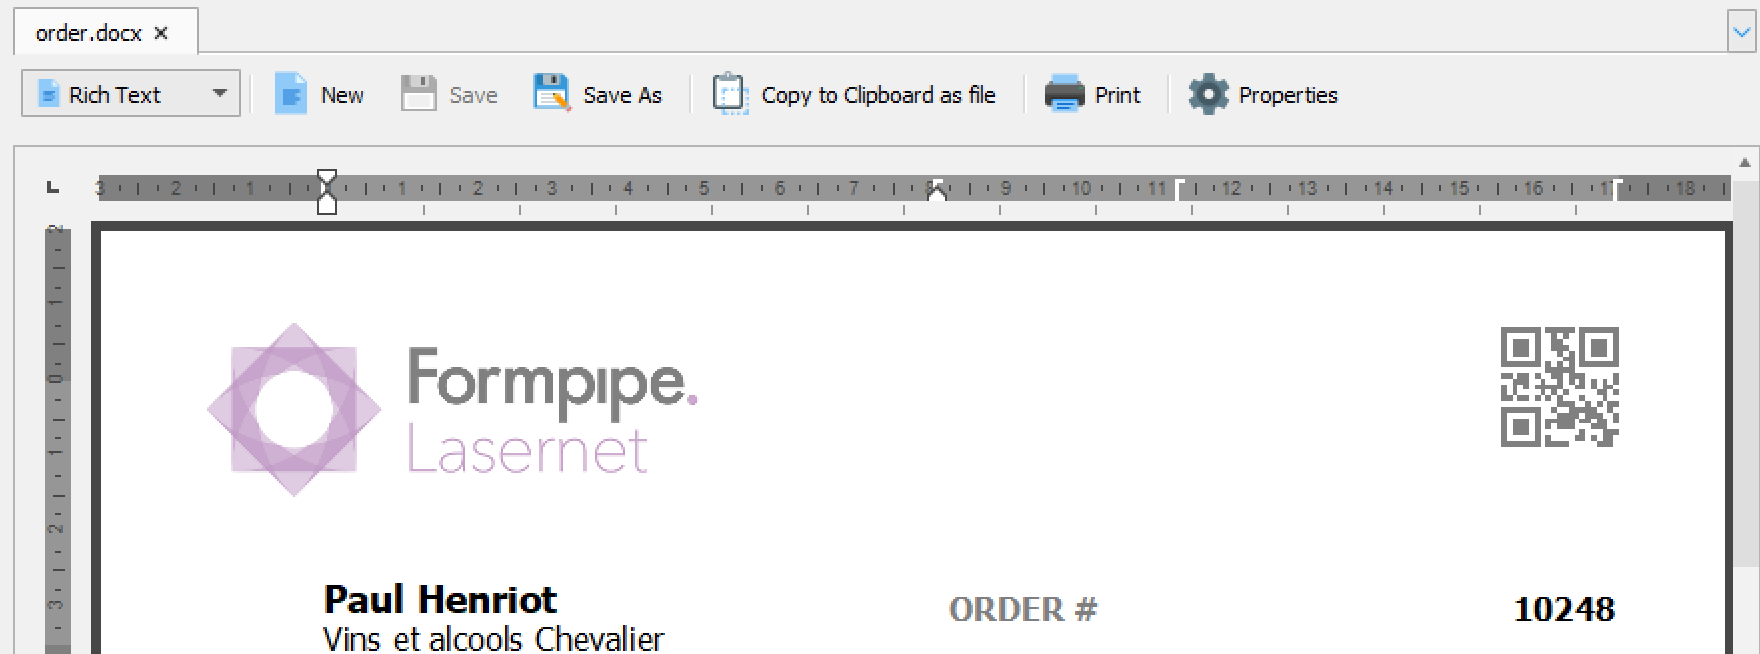
The left preview window shows the contents of the grab data used for the test. A wide range of known preview formats are supported. None of the supported formats can be previewed in HEX mode or as text. Only engines and output modules can open grab files.
Right Window (5)
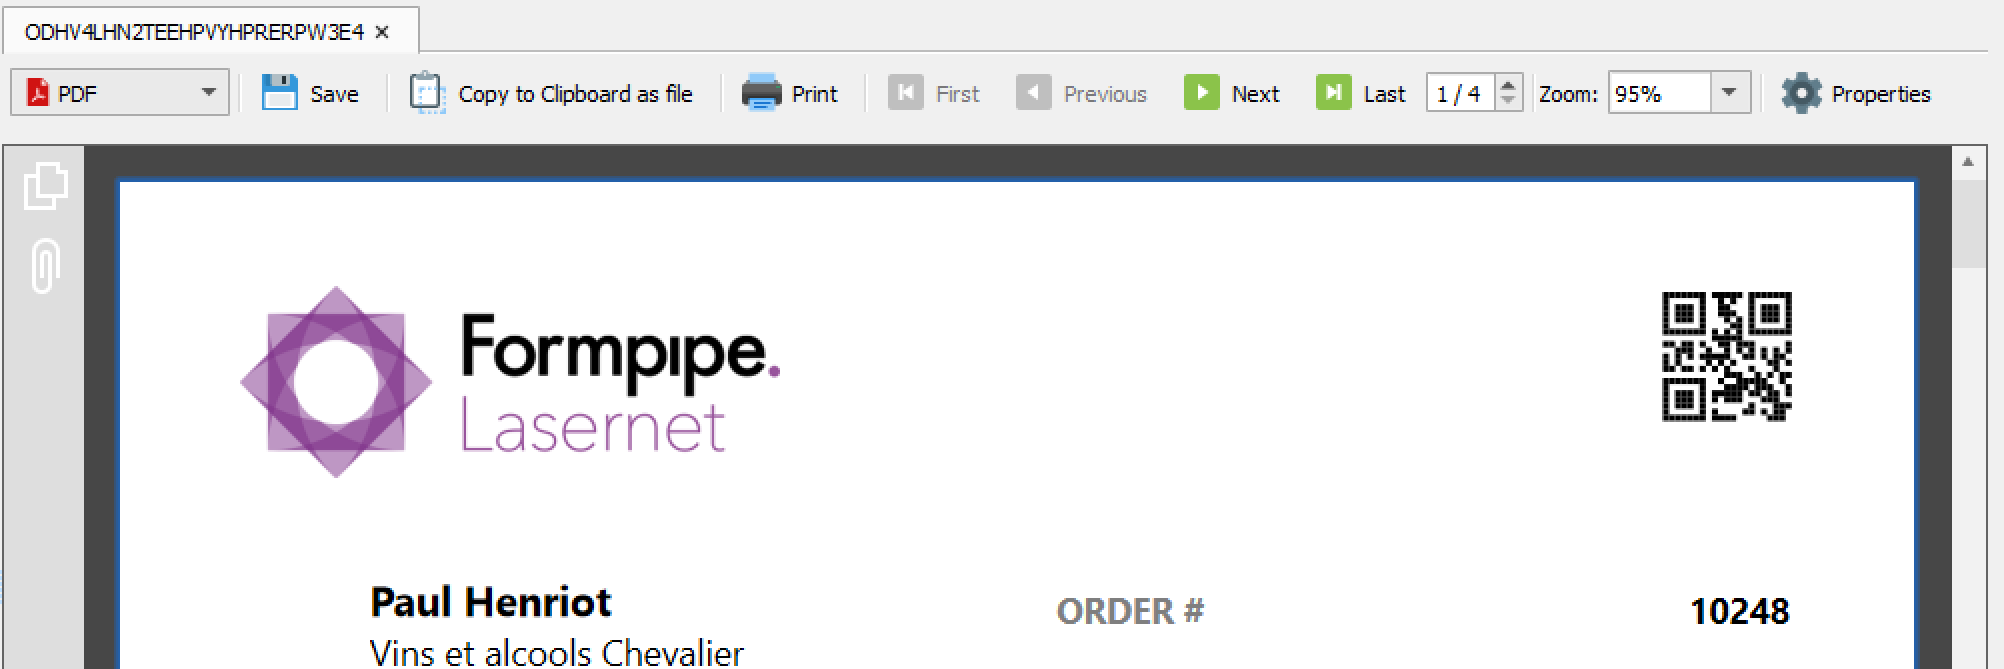
The right preview window shows the results of the module test. The contents will change as you step through each action added to module.
For more detailed information about JobInfo values assigned to the job, select View > JobInfos.
Actions (6)
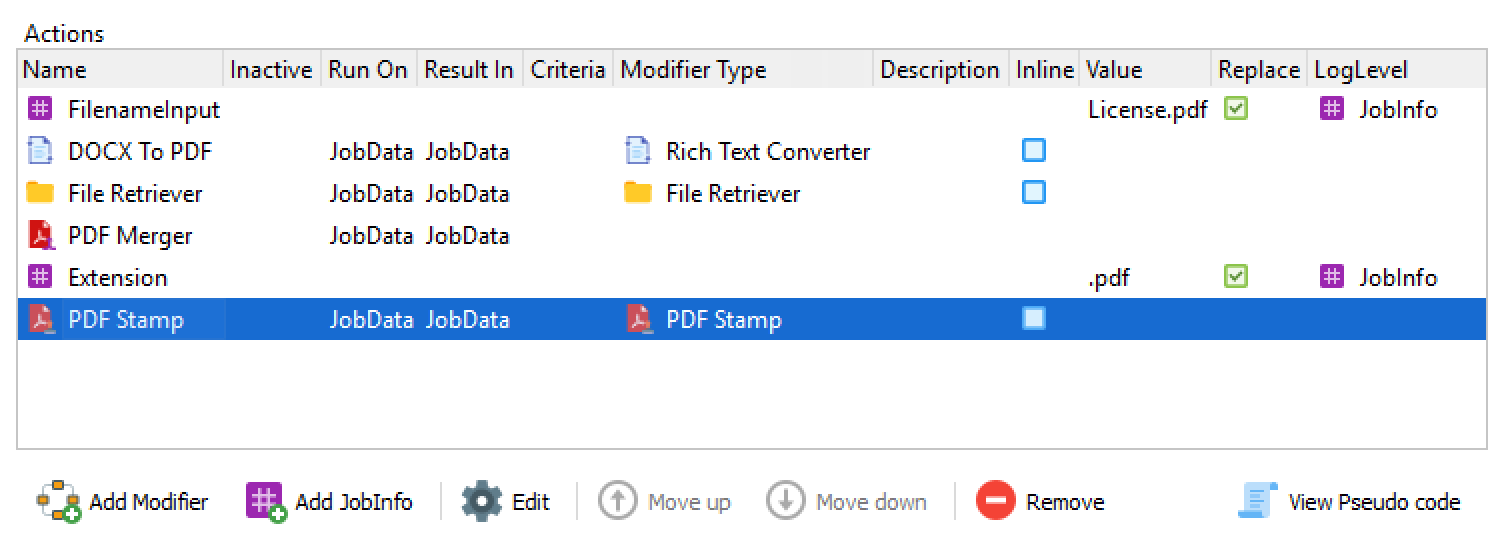
In the Actions list you can Add and Edit the modifiers and JobInfos assigned to the module or change the processing order by selecting an action and clicking the Move up and Move down buttons. Or you can click on any action in the list view, to inspect the result of all actions before the selected action.
Click the Remove button to remove one or more actions from the action list.
Click View Pseudo code for a quick review of all actions, including criteria in text mode. Pseudo code is for reading only and cannot be edited.
When you have successfully tested the module, click File > Save to store all settings and actions added to the module or File > Close to ignore the current settings.
Changes to actions will require a rerun of the test to see the results.
Logger (7)
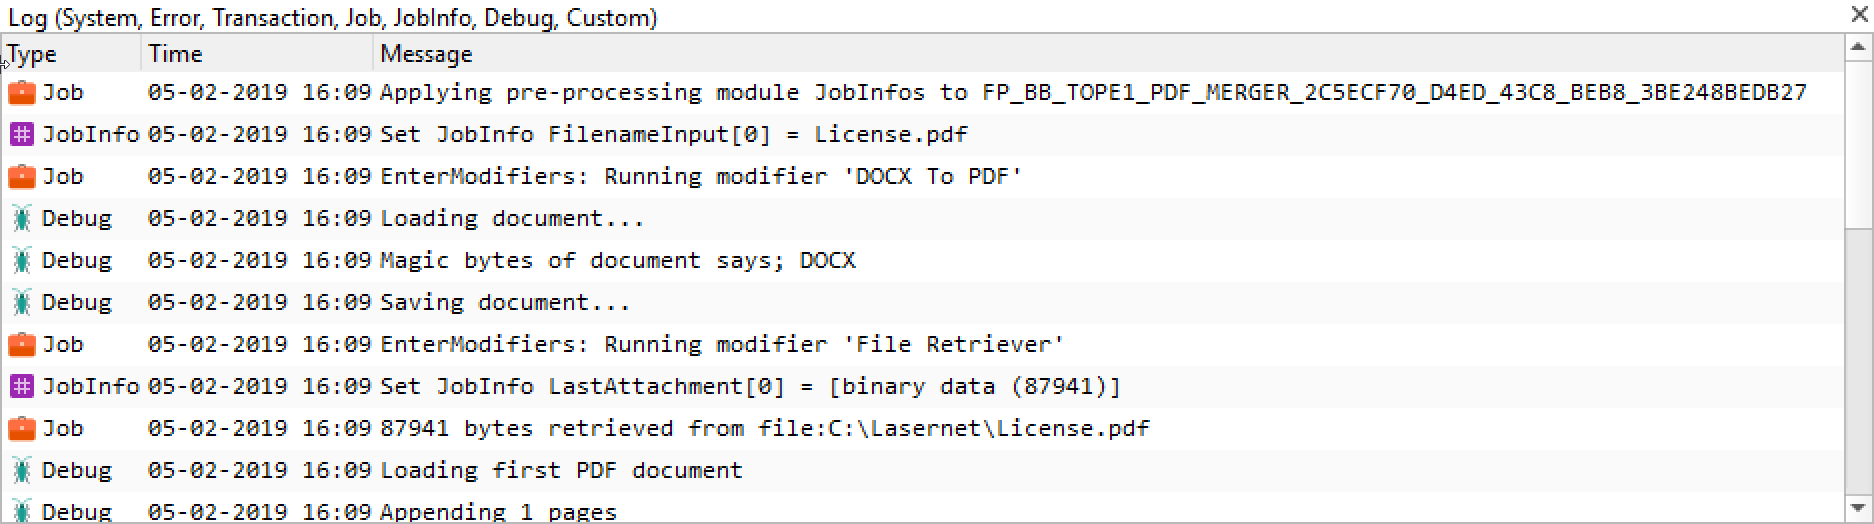
If the Log pane is displayed, you can view the full list of logs created for the tested module. Select View > Log Events to select which types of log event you want to view in test mode.
User rights
In Test mode you must start the Lasernet Developer, with similar user rights as the Lasernet Core Service, to access your database connections, file shares, and so on, which you have defined in the module or in actions added to the module.
To run the Web Server Input module, you must start the Lasernet Developer with Admin rights or you will receive a “HttpAddUrl failed with error code: 5”, when you click Start JobEngine.