

To control basic printer functionality, such as orientation, tray selection, or duplex printing, use either JobInfo Manipulation modifiers or Printer Profiles. You can combine both, but not within the same form.
If you need to control printer-specific features, such as stapling, use Printer Profiles, which connect directly to the printer's Windows driver. These features have no equivalent JobInfo.
If you have 20 or more output printers, JobInfo Manipulation modifiers are easier to control.
Printer Profiles
Set Up Printer Profiles
To set up a printer profile, follow these steps:
In Lasernet Developer, open the Profiles tab and select the Printer Profiles option.
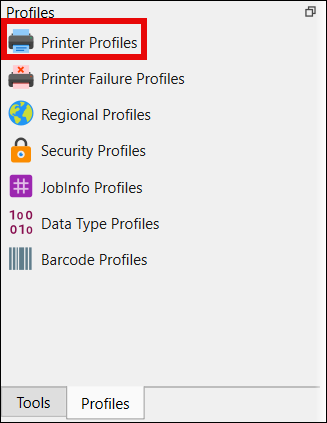
Click the Add button on the top toolbar while the desired printer is highlighted on the main screen. Alternatively, right-click the printer and click Add. The following window will open:
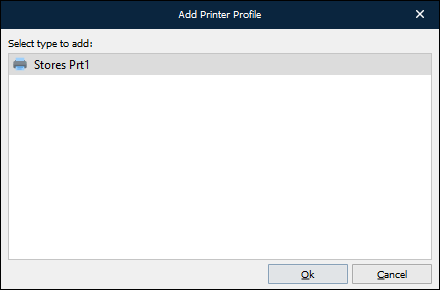
Click Ok to display the Printer Profile Properties window and give the printer profile a meaningful name (using the printer’s name and the profile’s functionality, for example, “Stores Prt1 Tray2 Duplex On”).
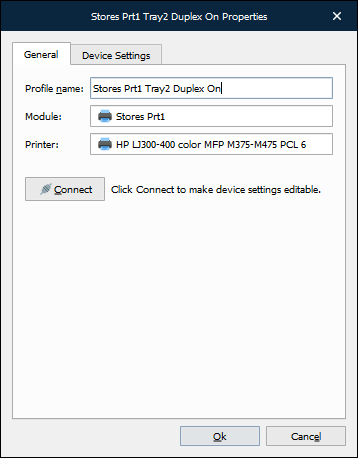
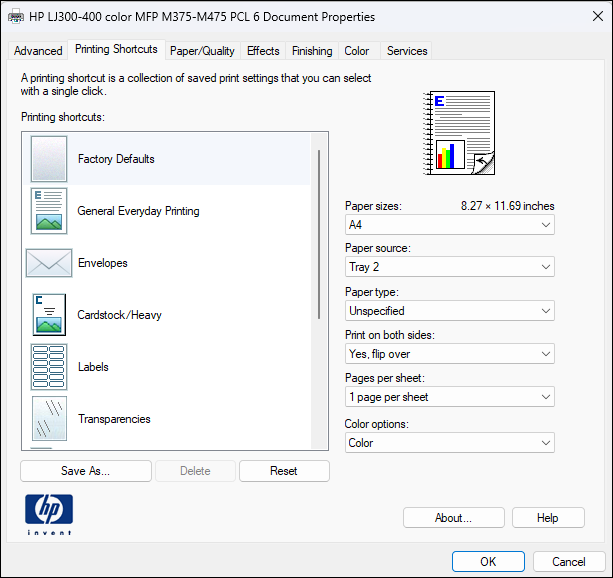
Click the Connect button to connect Lasernet Developer to the printer parameters stored in the Windows printer driver.
The Device Settings tab in the Stores Prt1 Tray2 Duplex On Properties window displays the default parameters inherited from the Windows printer. At this stage, you can amend the settings.
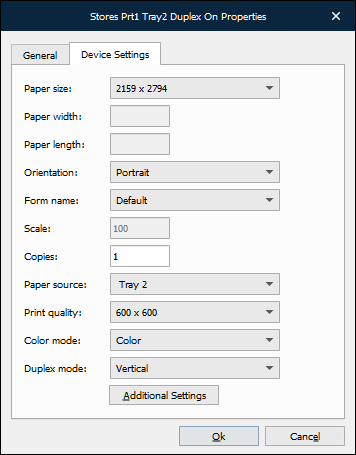
Click Ok to confirm any changes.
To control printer-specific features such as cover pages, watermarks, or the output tray, click Additional Settings. This will open the Windows driver interface, where you can set the options you require. Click OK to confirm and save.
Assign Profiles
After you create the printer profiles, assign one to each sheet in a form.
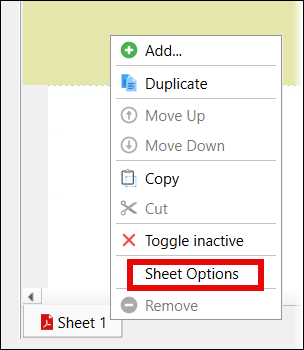
To do so, right-click the sheet on the bottom-left corner of the screen and select Sheet Options, then open the Printer Profiles tab.
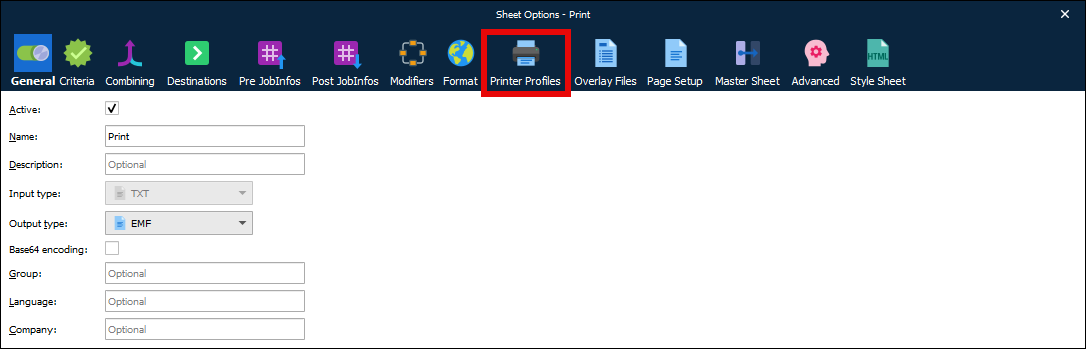
Select a printer profile for each printer that the form prints to. You can also select a different profile for each page (first, middle, last, and single).
.png)
Warning
If your organization has a large number of printers and forms, managing the profiles could become very time-consuming and impractical.
JobInfo Manipulation Modifiers
To create a JobInfo Manipulation modifier, follow these steps:
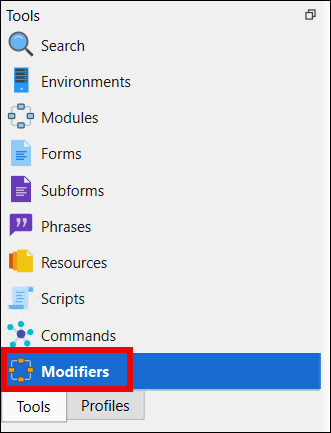
In Lasernet Developer, open the Tools tab and select the Modifiers option, then click Add from the top toolbar.
Select the JobInfo Manipulation modifier and click OK.
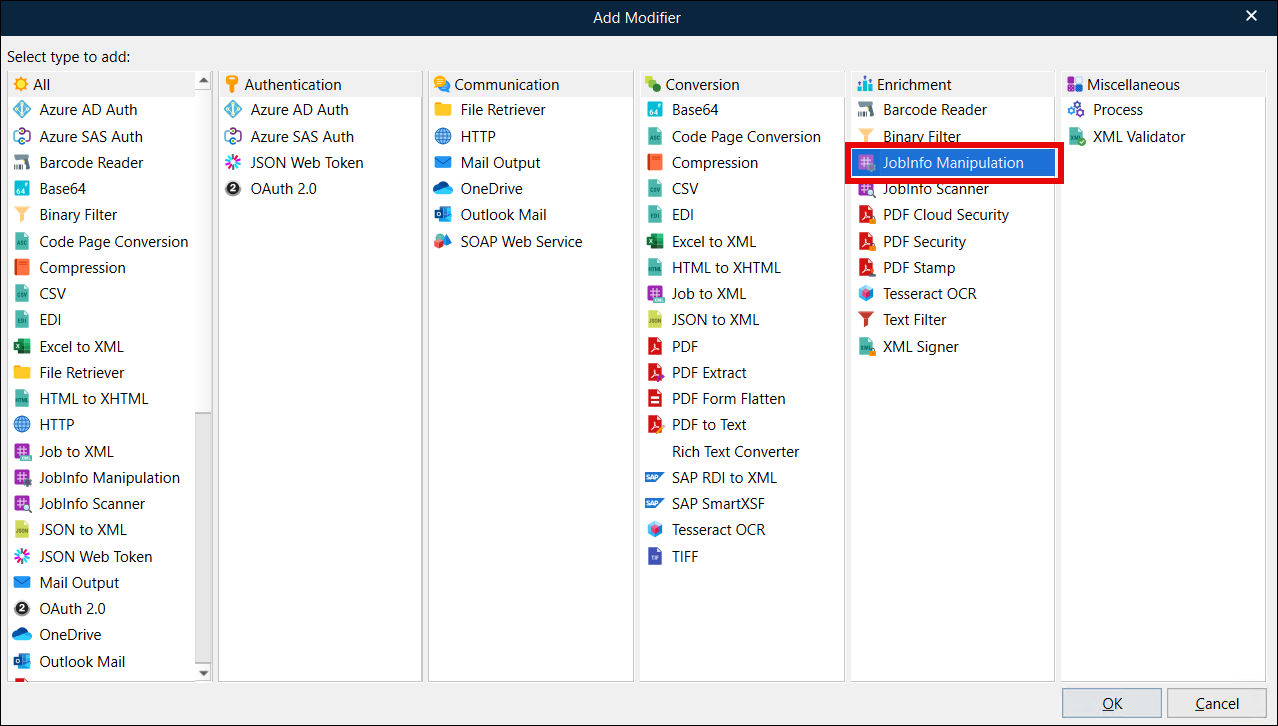
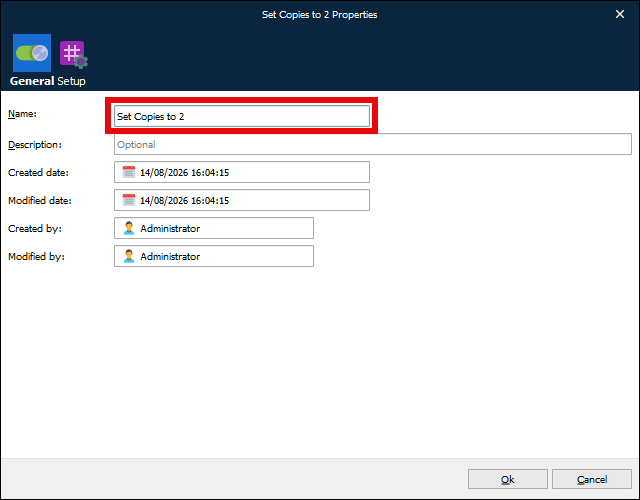
In the General tab, assign the modifier a meaningful name that describes its functionality.
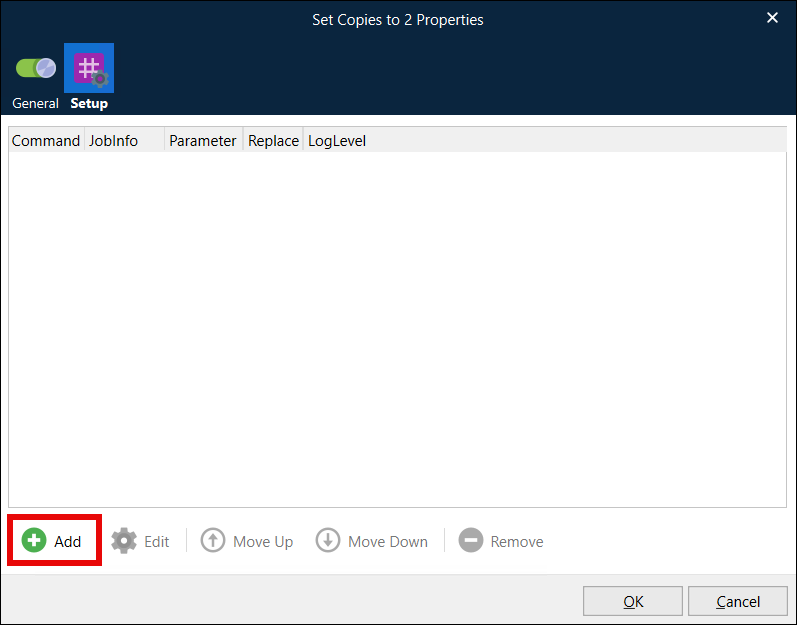
To add the modifier, open the Setup tab and click Add.
Use the Name dropdown menu to select the built-in JobInfo you wish to modify, then select the Replace existing checkbox. This ensures that this modifier takes precedence over a value that may have been set elsewhere.
Assign is the most common Manipulation command. Parameter is the value you want to set for JobInfo.
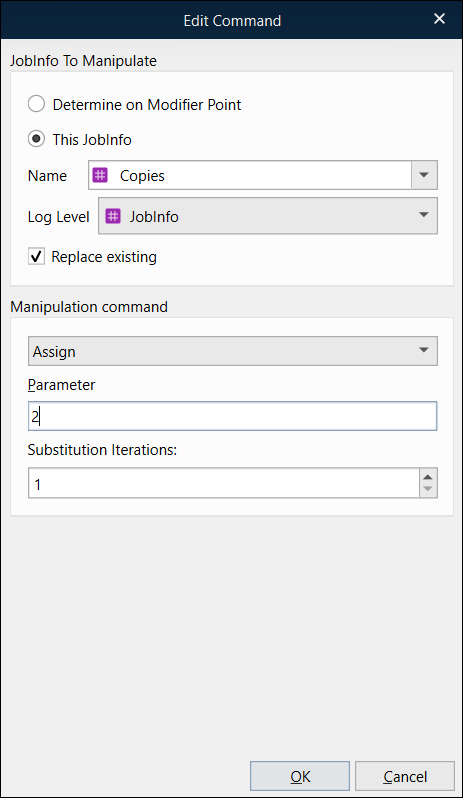
You can create as many JobInfo Manipulation modifiers as you like. Common ones include Orientation, PaperSource, PaperHeight/PaperWidth or DocName (such as A4 or Letter), Copies (number of copies), and DuplexMode. For more details about these JobInfos, consult the Lasernet Developer manual section 6.4.17.1 JobInfos.
To apply your JobInfo Manipulation modifiers to the form, you must place them at a Modifier point. The best place is usually the After Analysis point, as some operations will not work when set at Sheet End.
To do so, follow these steps for each sheet in your form:
Open the Form Editor.
On the top toolbar, click Form, then select Modifiers.
.png)
Choose the Modifier point where the modifier will run.
Click Add.
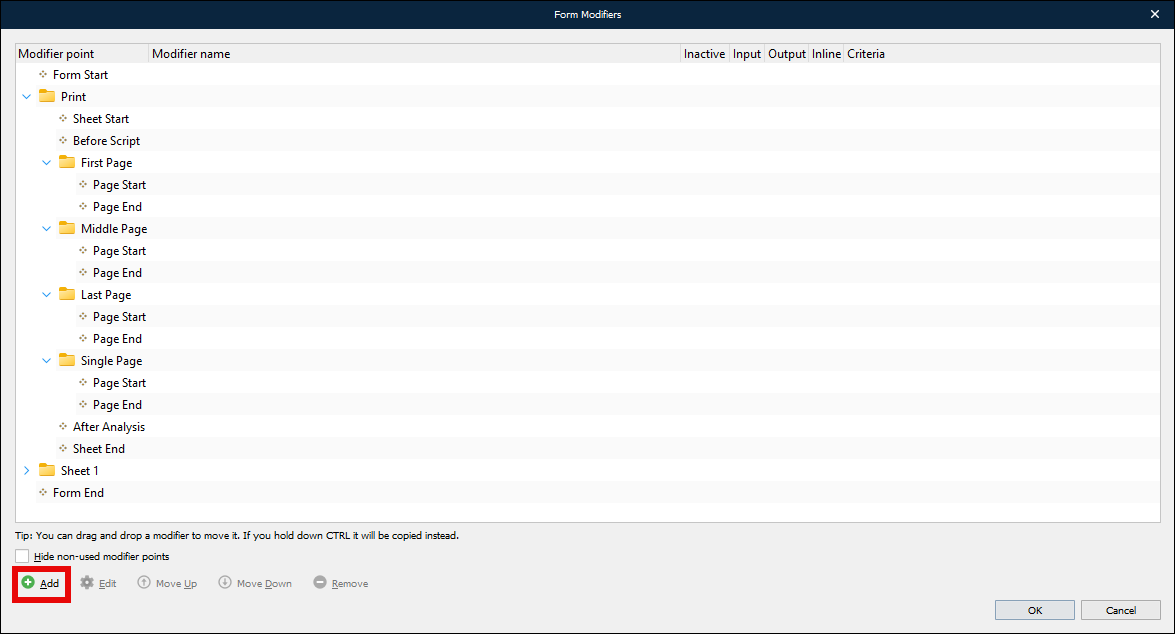
Select the JobInfo Manipulation modifiers to apply.
.png)
You can also set criteria to control whether the modifier runs by using the Criteria tab. For example, you might want to set the number of copies to two (like in the JobInfo above) only if the Account Number JobInfo in the data contains a certain value.
After you apply all the desired modifiers, save the form, update the build, and run it.