

Lasernet Form Editor is an application for designing and maintaining forms, with input formats including DataSet, CSV, EDI, TXT, XLS, and XML. Lasernet can enrich this data by applying rearranges with font types and inserting text, barcodes, charts, images, shapes, or overlays.
In the following walkthrough, you will follow step-by-step instructions to produce great-looking forms with Lasernet Form Editor using XML as an input format. For this purpose, we have created configurations with a simple workflow and layout samples in forms.
This article describes how to import the configuration attached to each walkthrough and introduces Lasernet’s graphical interface and tools.
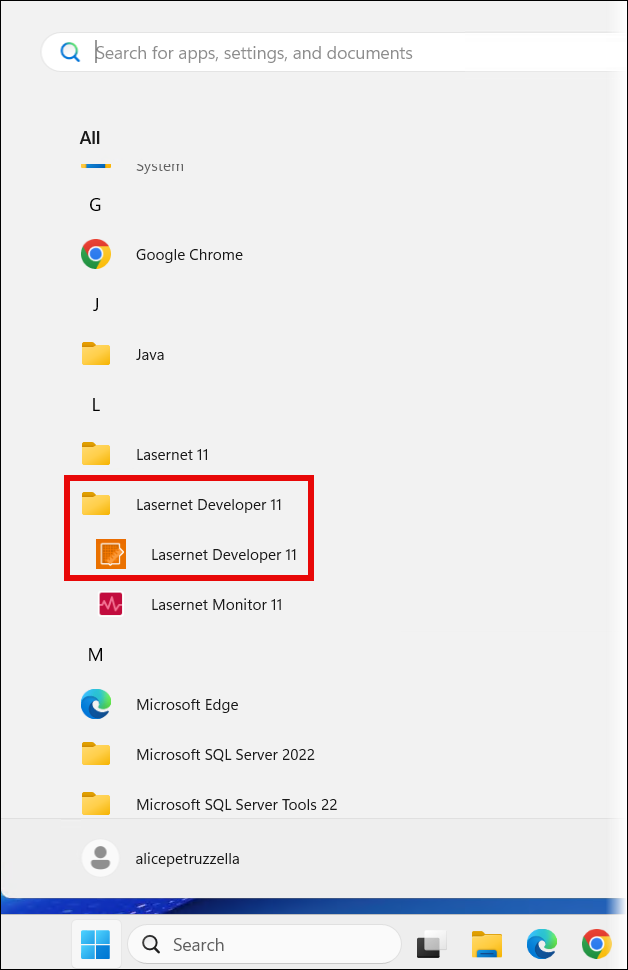
Lasernet Developer
Lasernet Form Editor runs within the Lasernet Developer application, providing an environment to configure modules and workflow rules in the Lasernet Server, as well as to design and maintain forms.
Find and start the Lasernet Developer application on your machine.
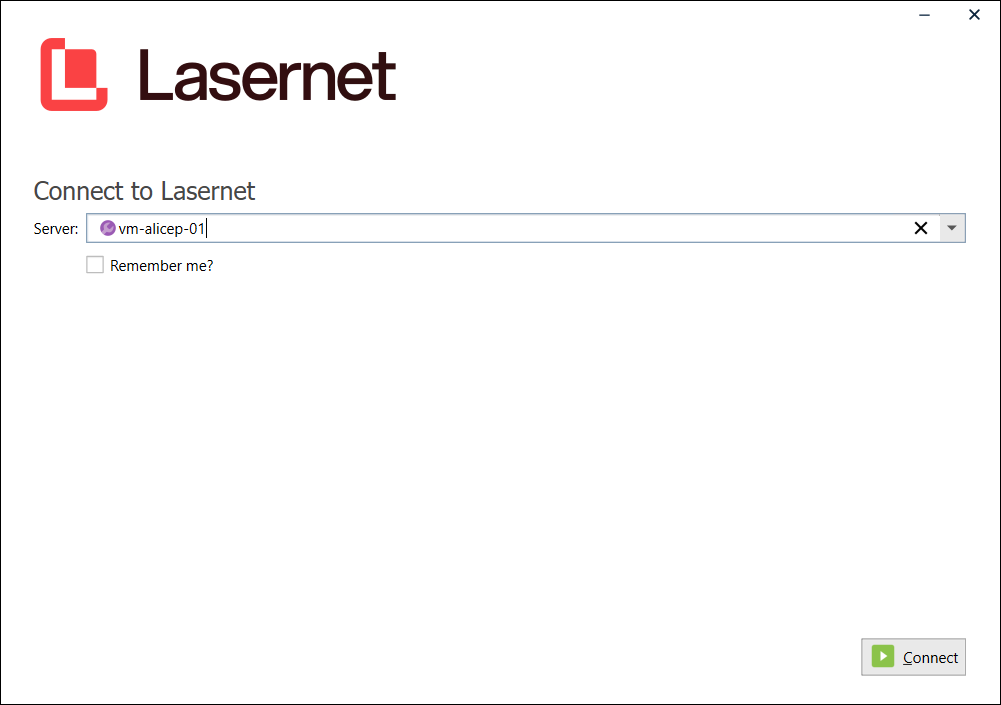
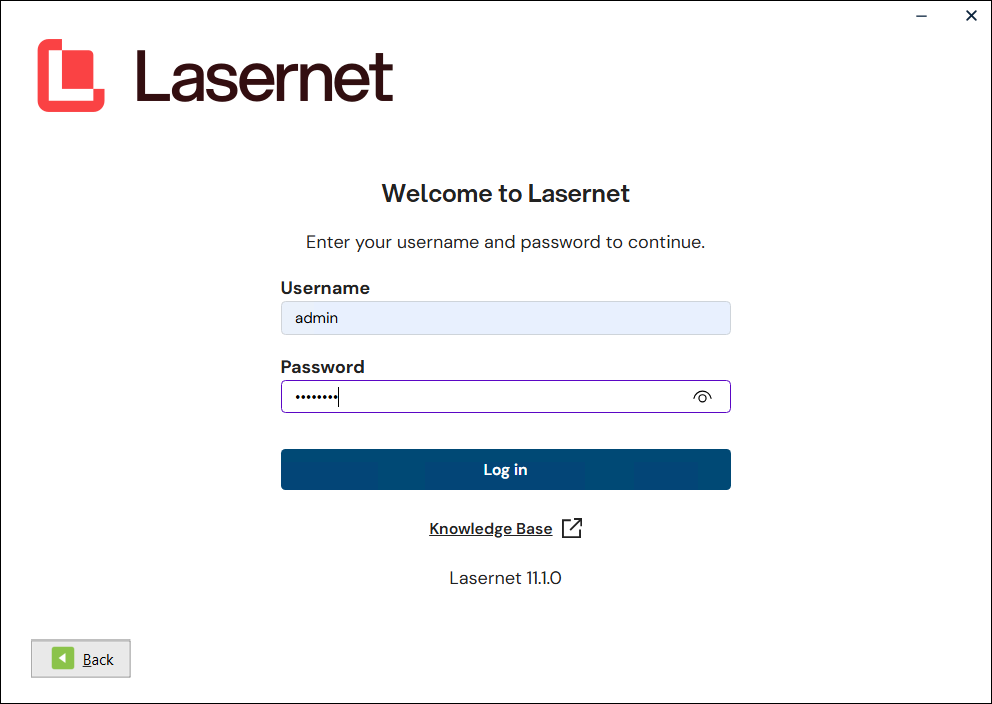
Specify a Server (the name of the server where the Lasernet Config service is running), then enter the Username and Password you created on your Lasernet Configuration Server. Click Connect.
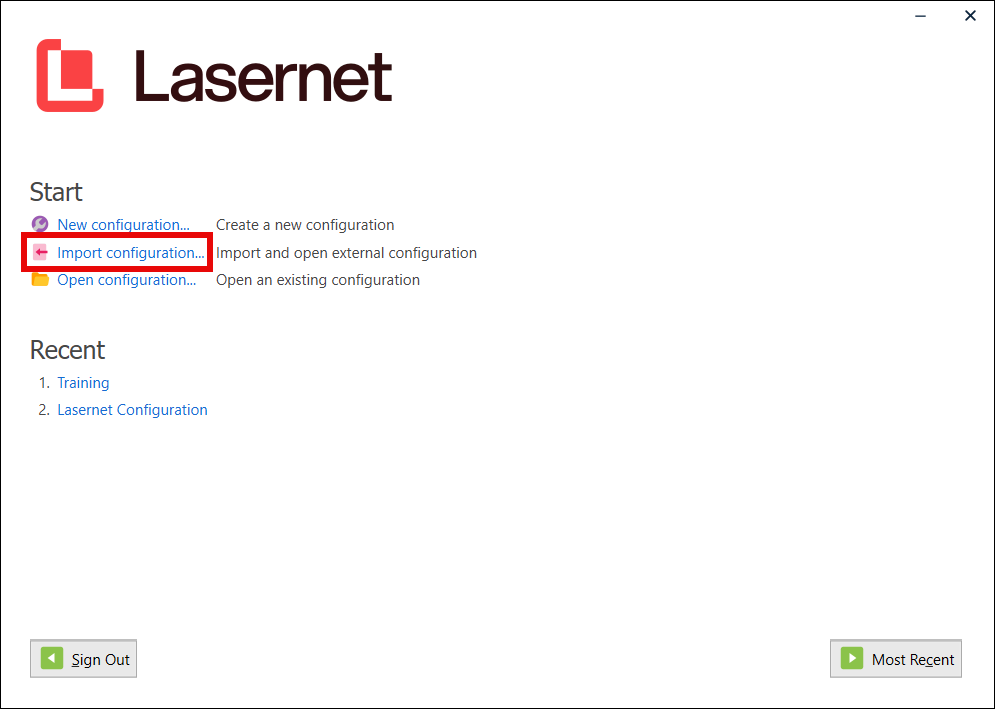
To import the configuration you have previously downloaded, click Import configuration.
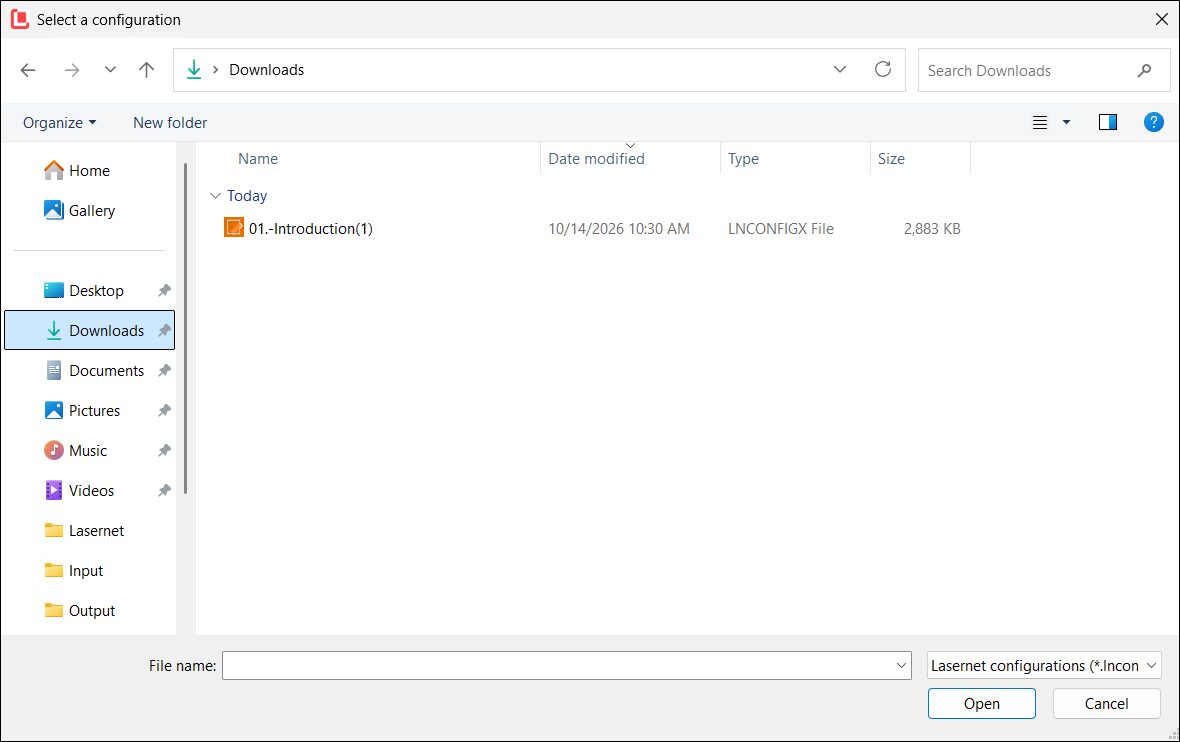
Open the
01.Introduction.lnconfigconfiguration that you previously downloaded from this page.
Lasernet Form Engine
The Form Editor requires at least one form engine in the configuration to work. A form engine can contain as many forms as needed.
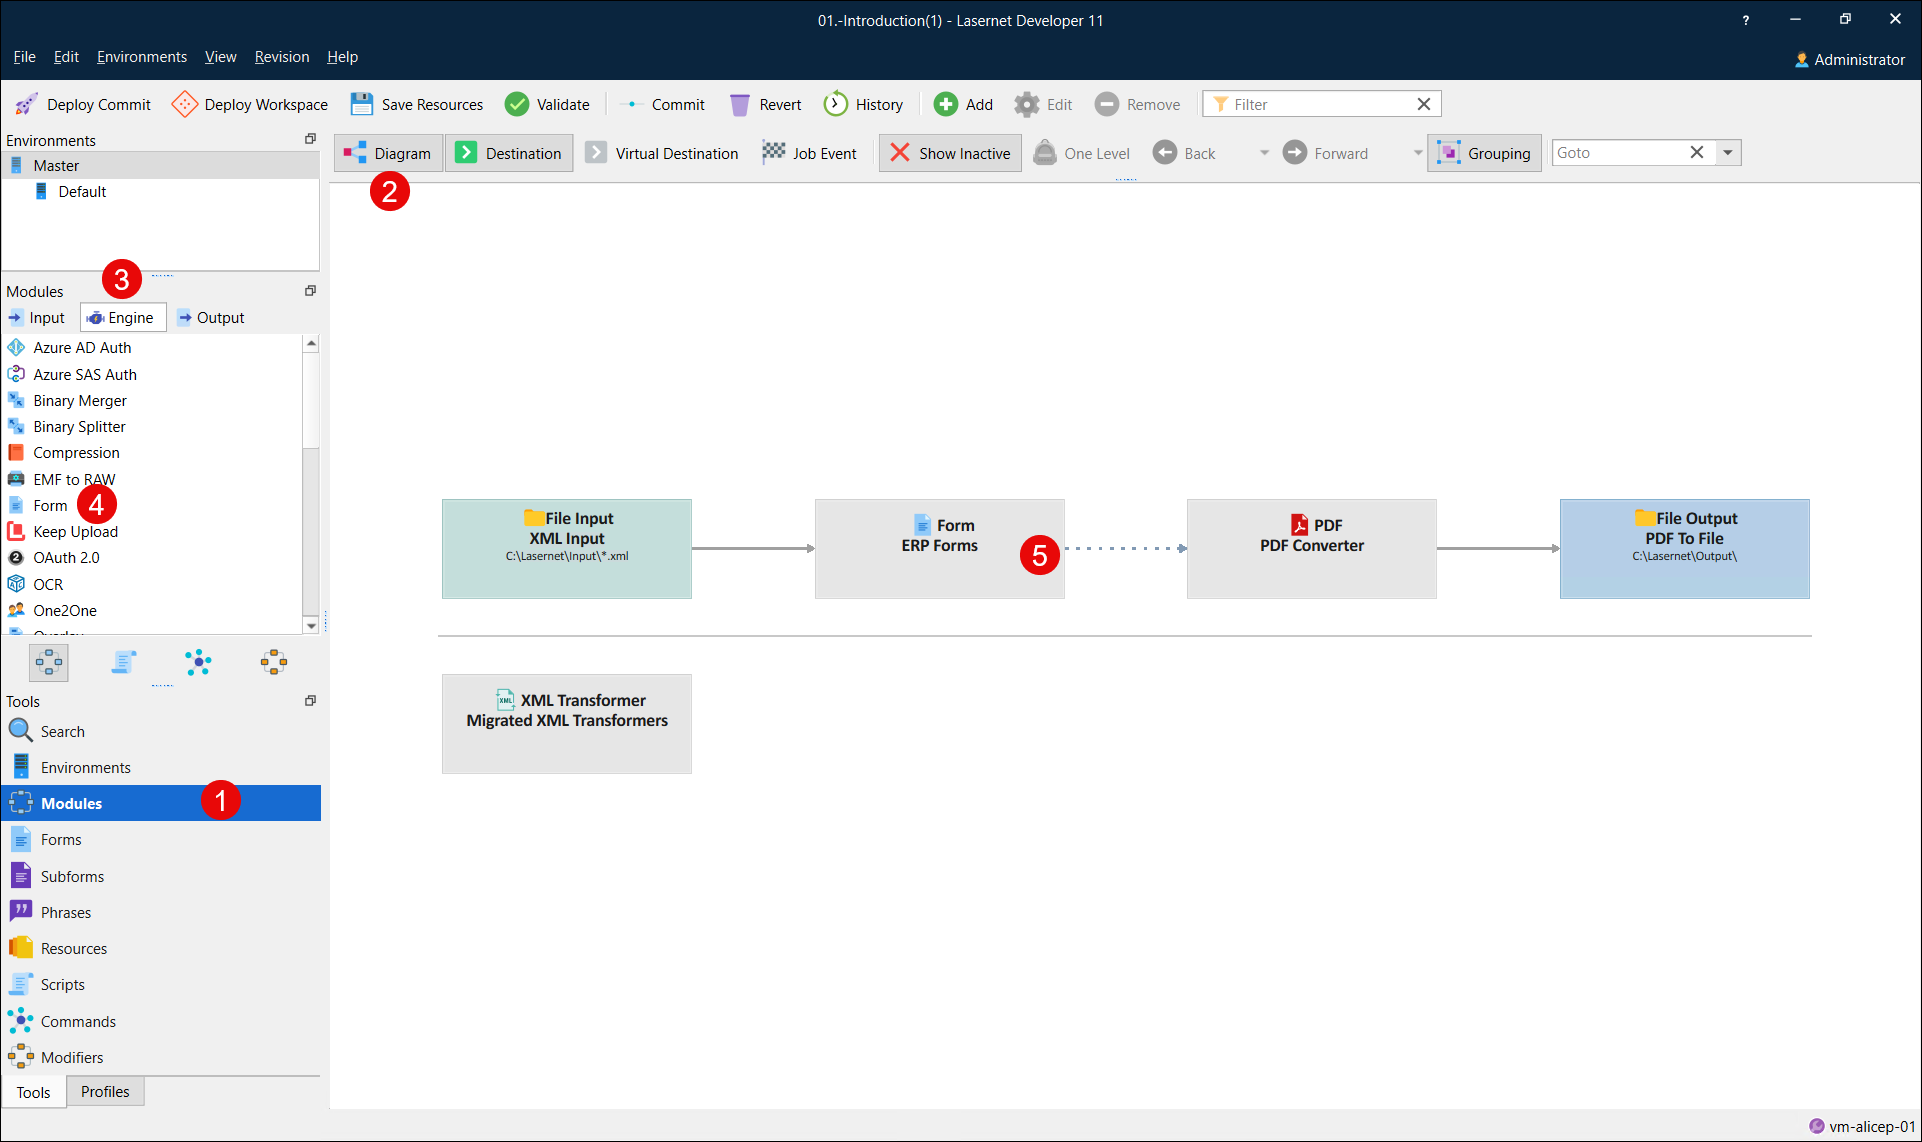
You can skip the following first five steps as they are already completed in the supplied config:
Select Modules from the Tools panel.
Click the Diagram button on the toolbar to view objects in diagram mode.
Open the Engine tab from the Modules panel.
Drag the Form module and drop it in the main window (the big white area).
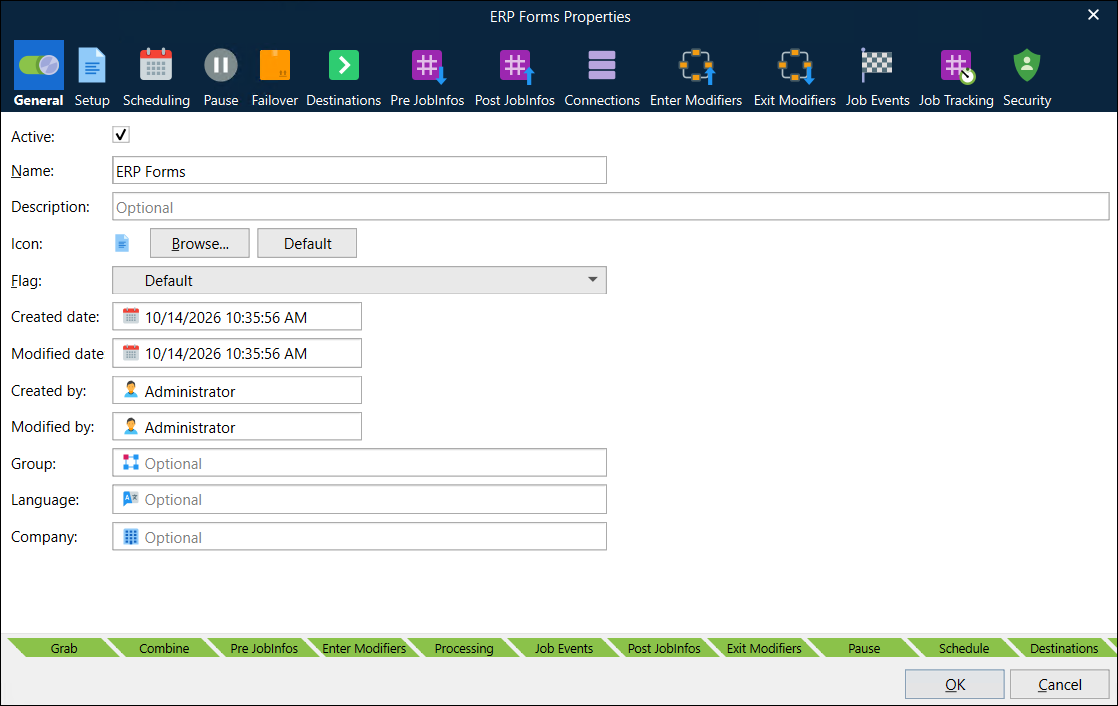
Double-click the Form Engine object to open the Properties window, or select it and press ALT+Enter, or right-click it and select Properties. On the General tab, you can edit the form engine's name and add a description.
The proposed walkthroughs focus on a configuration that includes only one form engine. However, Lasernet also supports multiple form engines per configuration, where each engine can contain a unique list of forms.
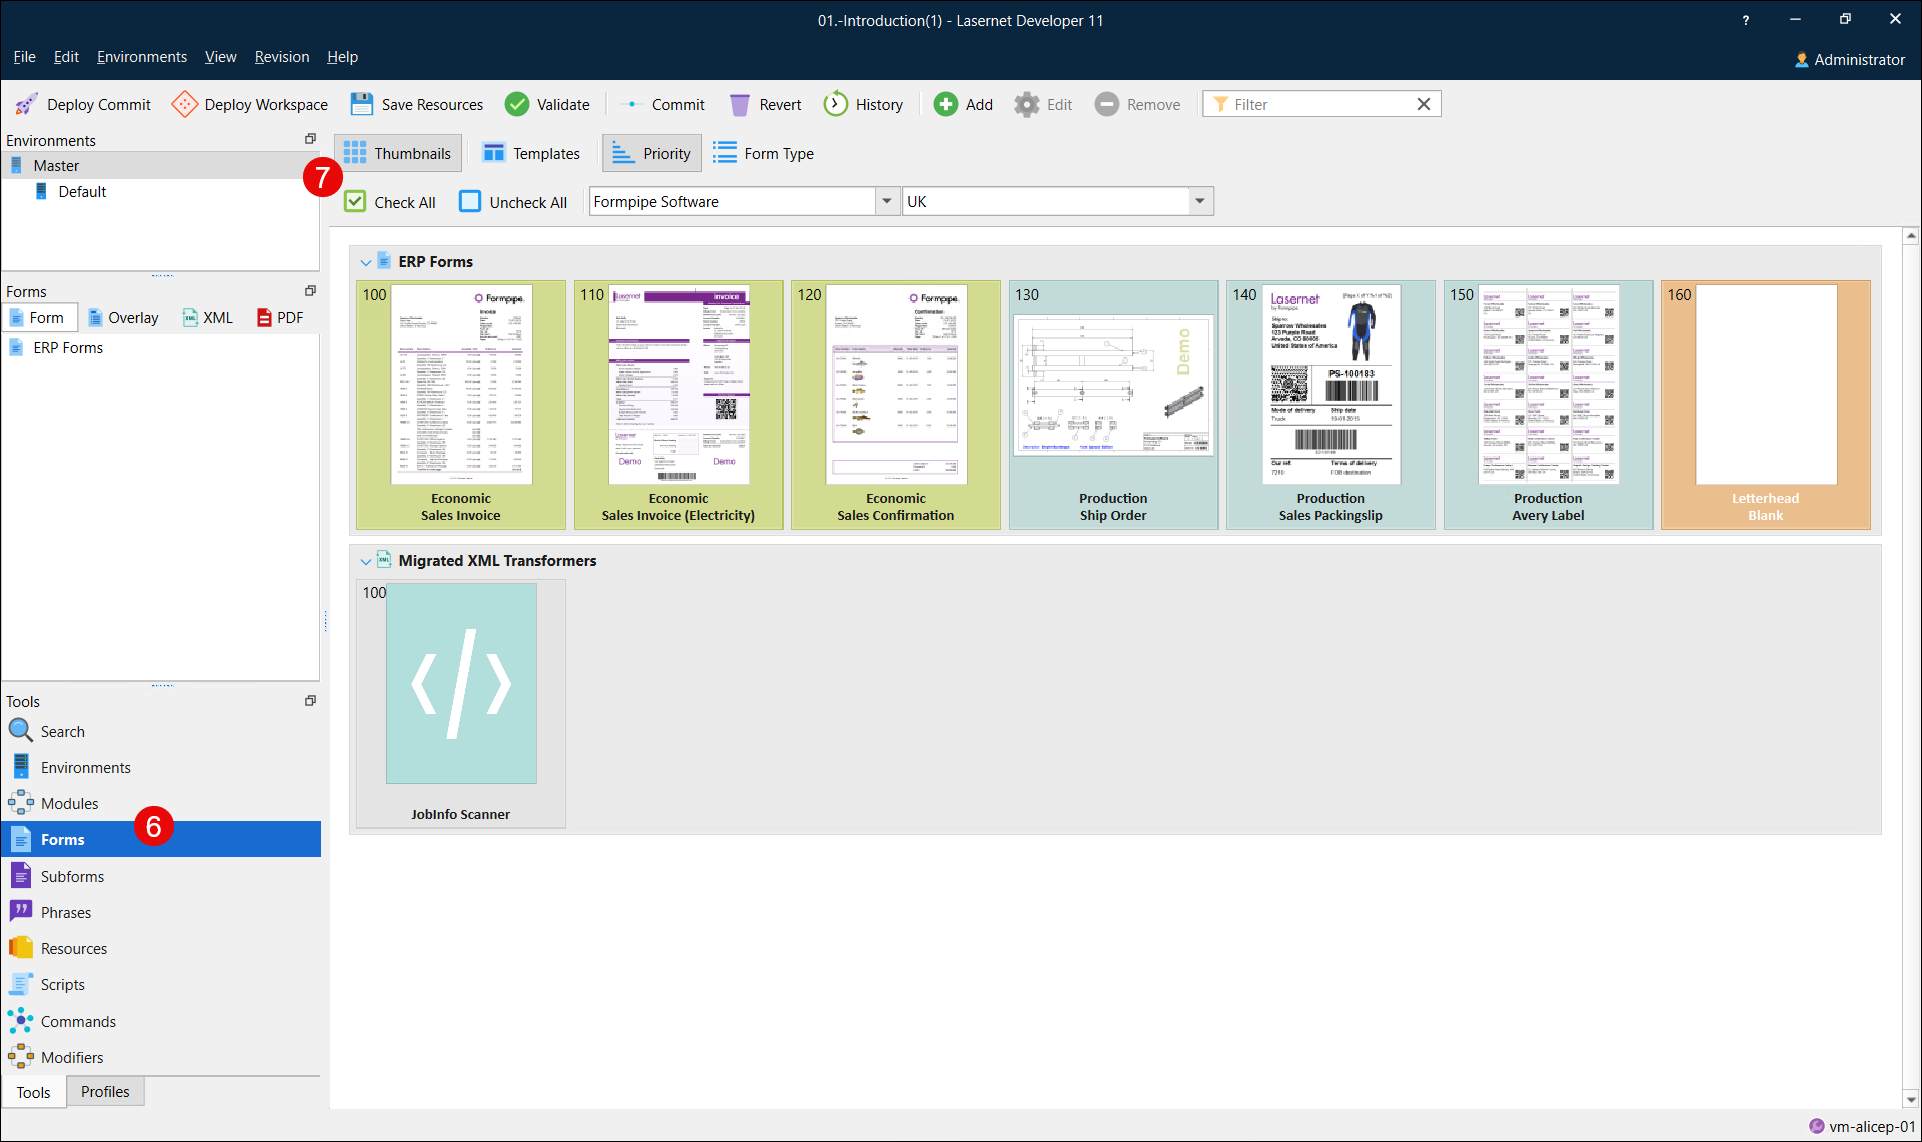
Select Forms from the Tools panel to view a list of existing forms.
Click the Thumbnails button on the toolbar to view a list of existing forms in reduced size.
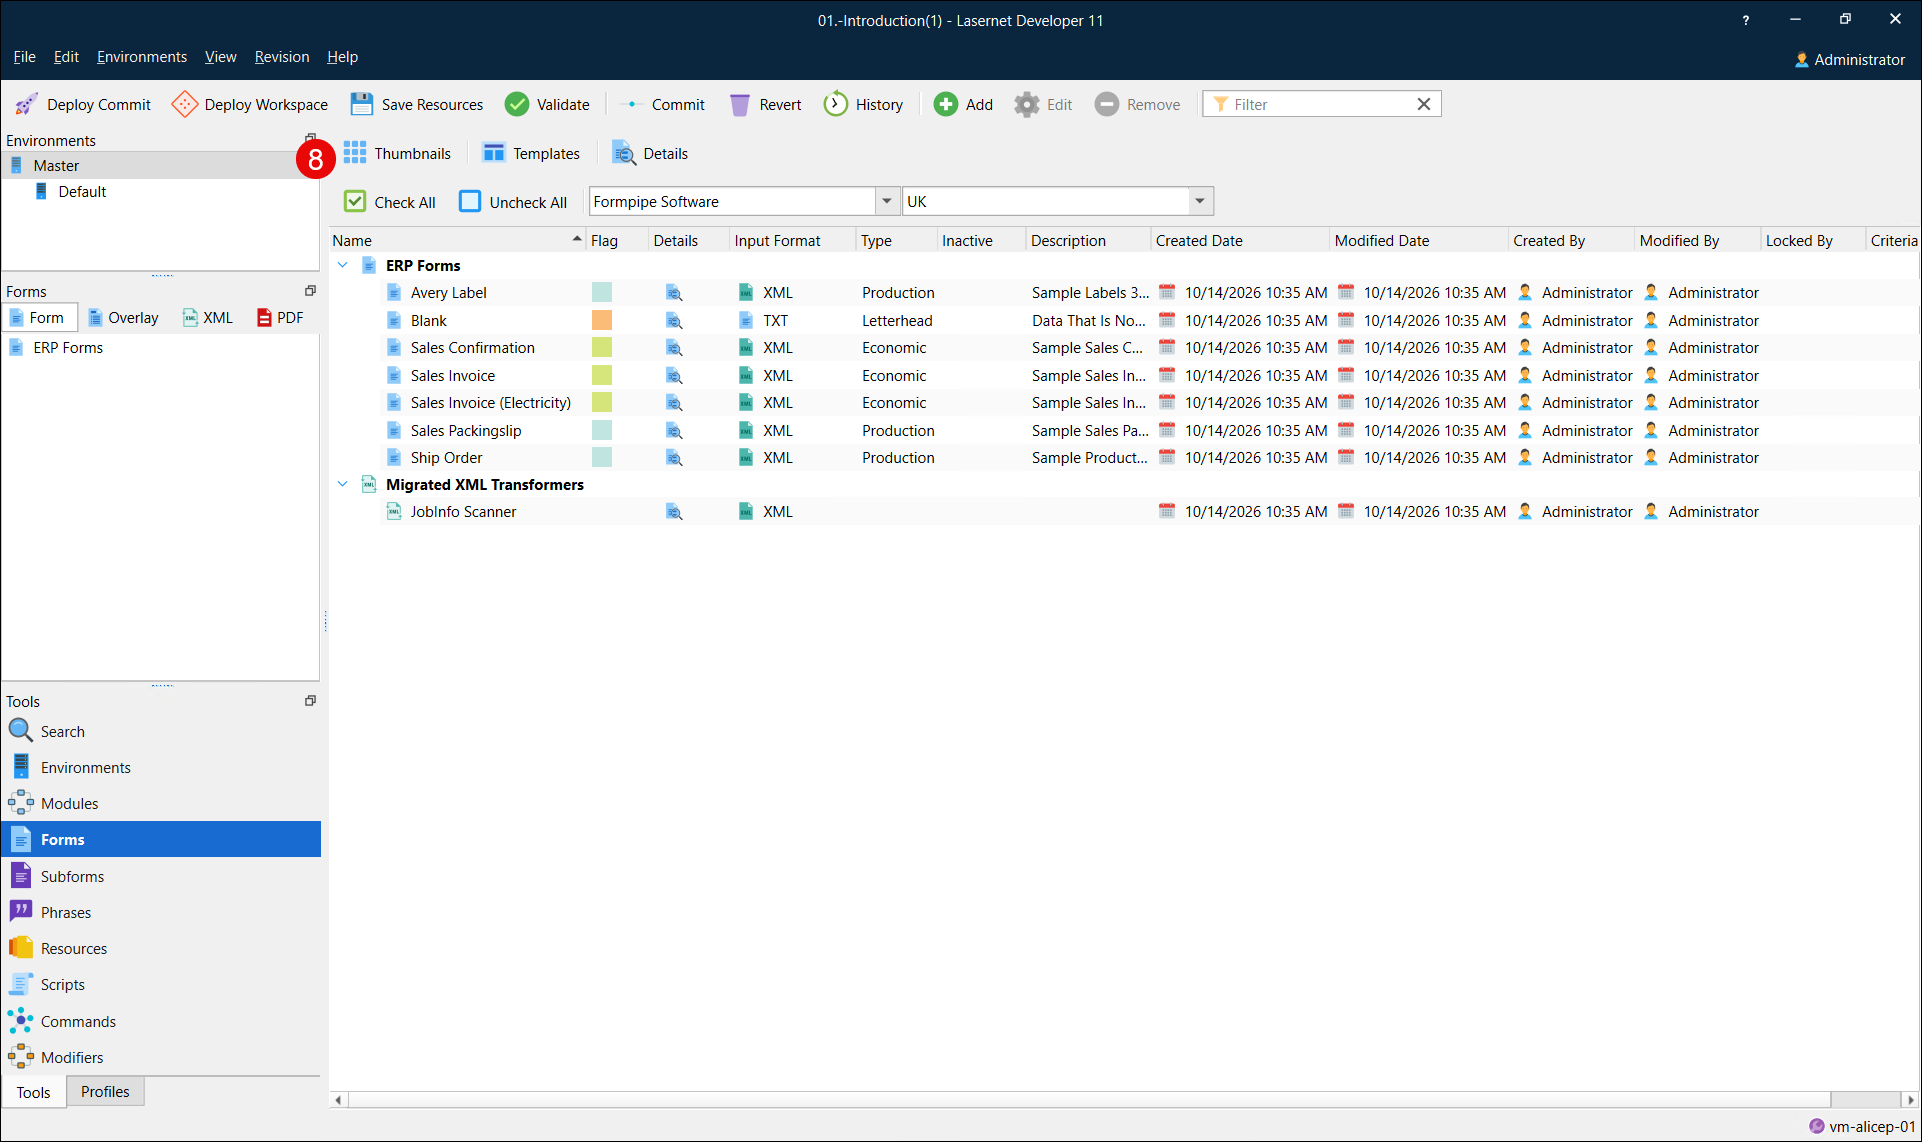
Click the Thumbnails button again to show existing forms as a list.
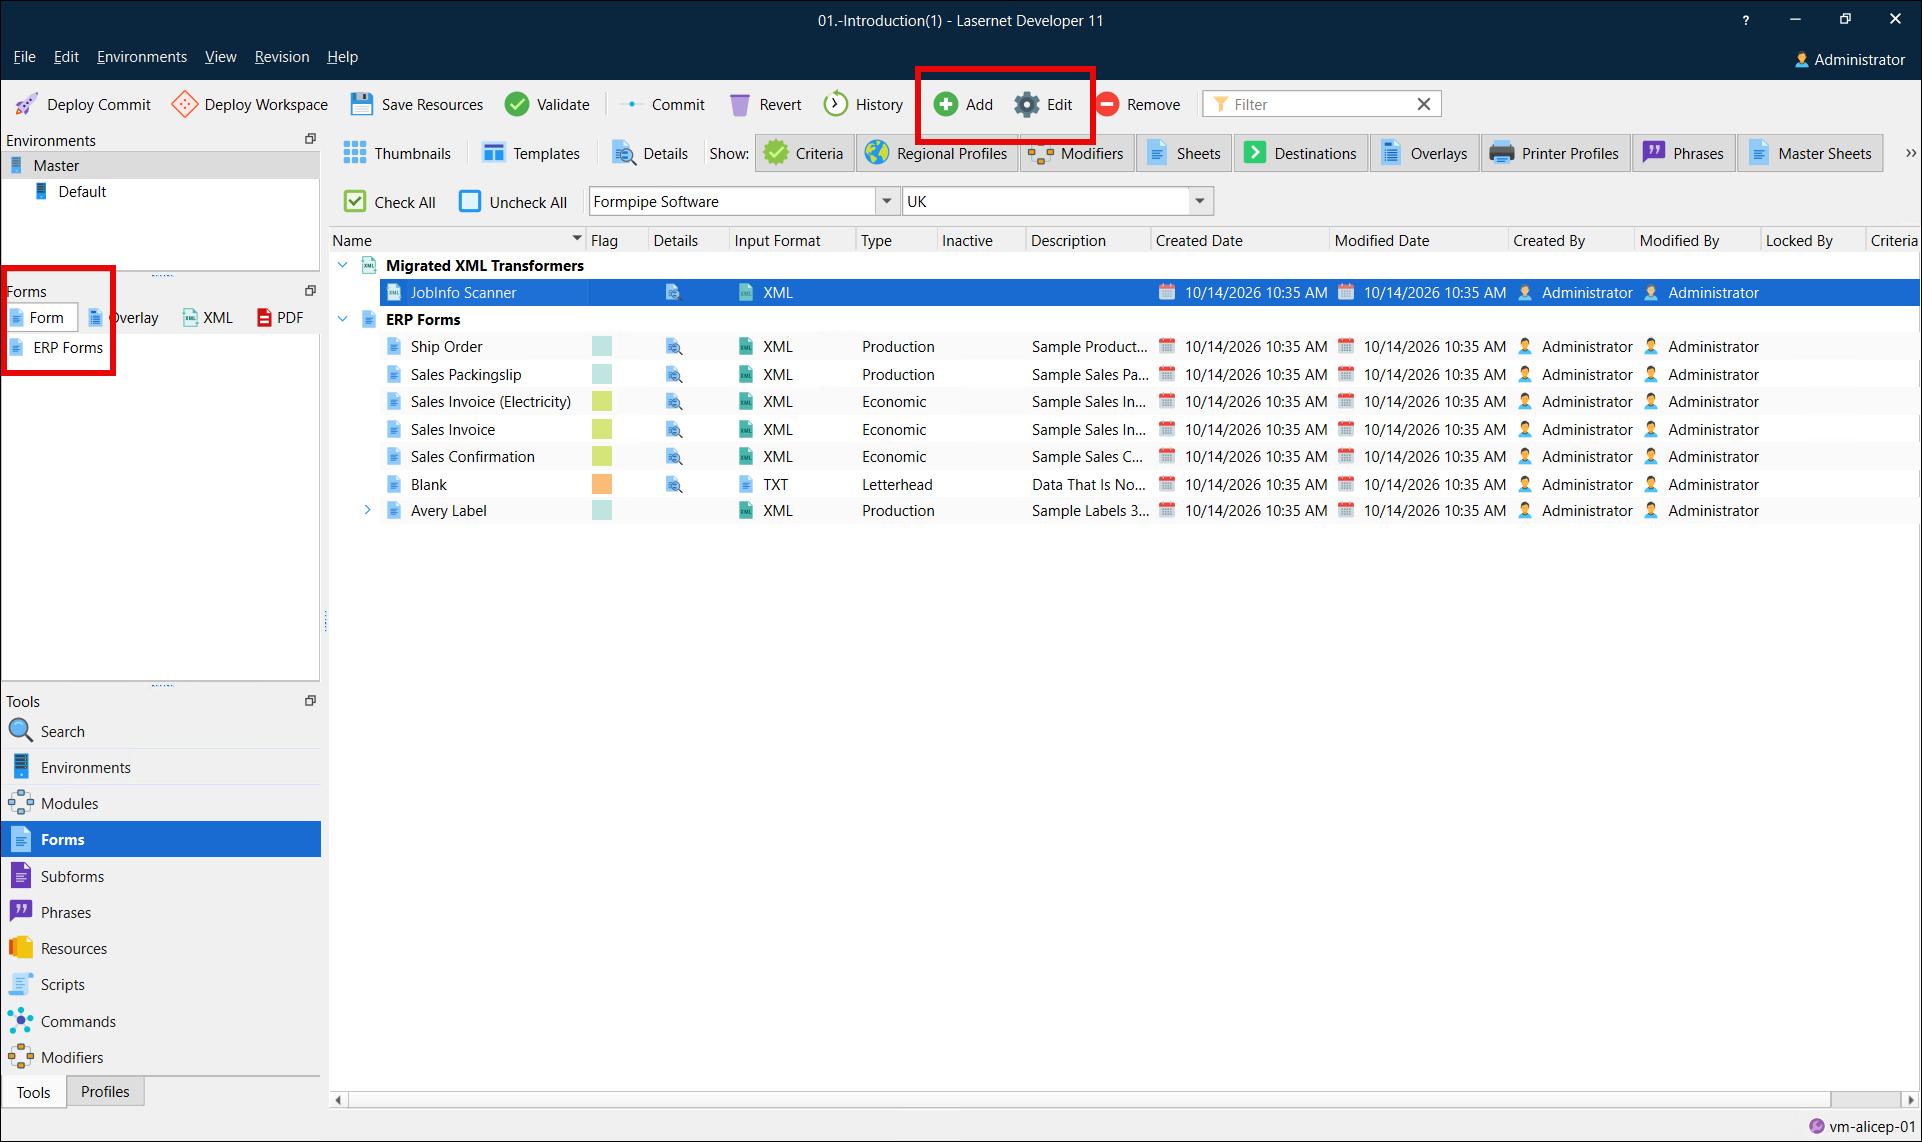
You can edit an existing form or create a new one by clicking the Add or Edit buttons on the toolbar. You can also edit a form by right-clicking it and selecting Edit from the context menu, or by double-clicking the form item.
Furthermore, you can drag an object available in the list of form engines on the Form tab of the Modules panel and drop it in the forms list in the main window.
Lasernet Core recognizes forms through a list of rules. We recommend creating a unique criteria matching all forms added to a configuration. Alternatively, a priority match must be added to a form's properties because:
Forms without form recognition are neither recognized nor processed.
If multiple forms are recognized, the form with the lowest priority number is processed. If no priority is added to a form, the priority number is considered zero.
If several forms are recognized, those with the same priority are prioritized alphabetically.
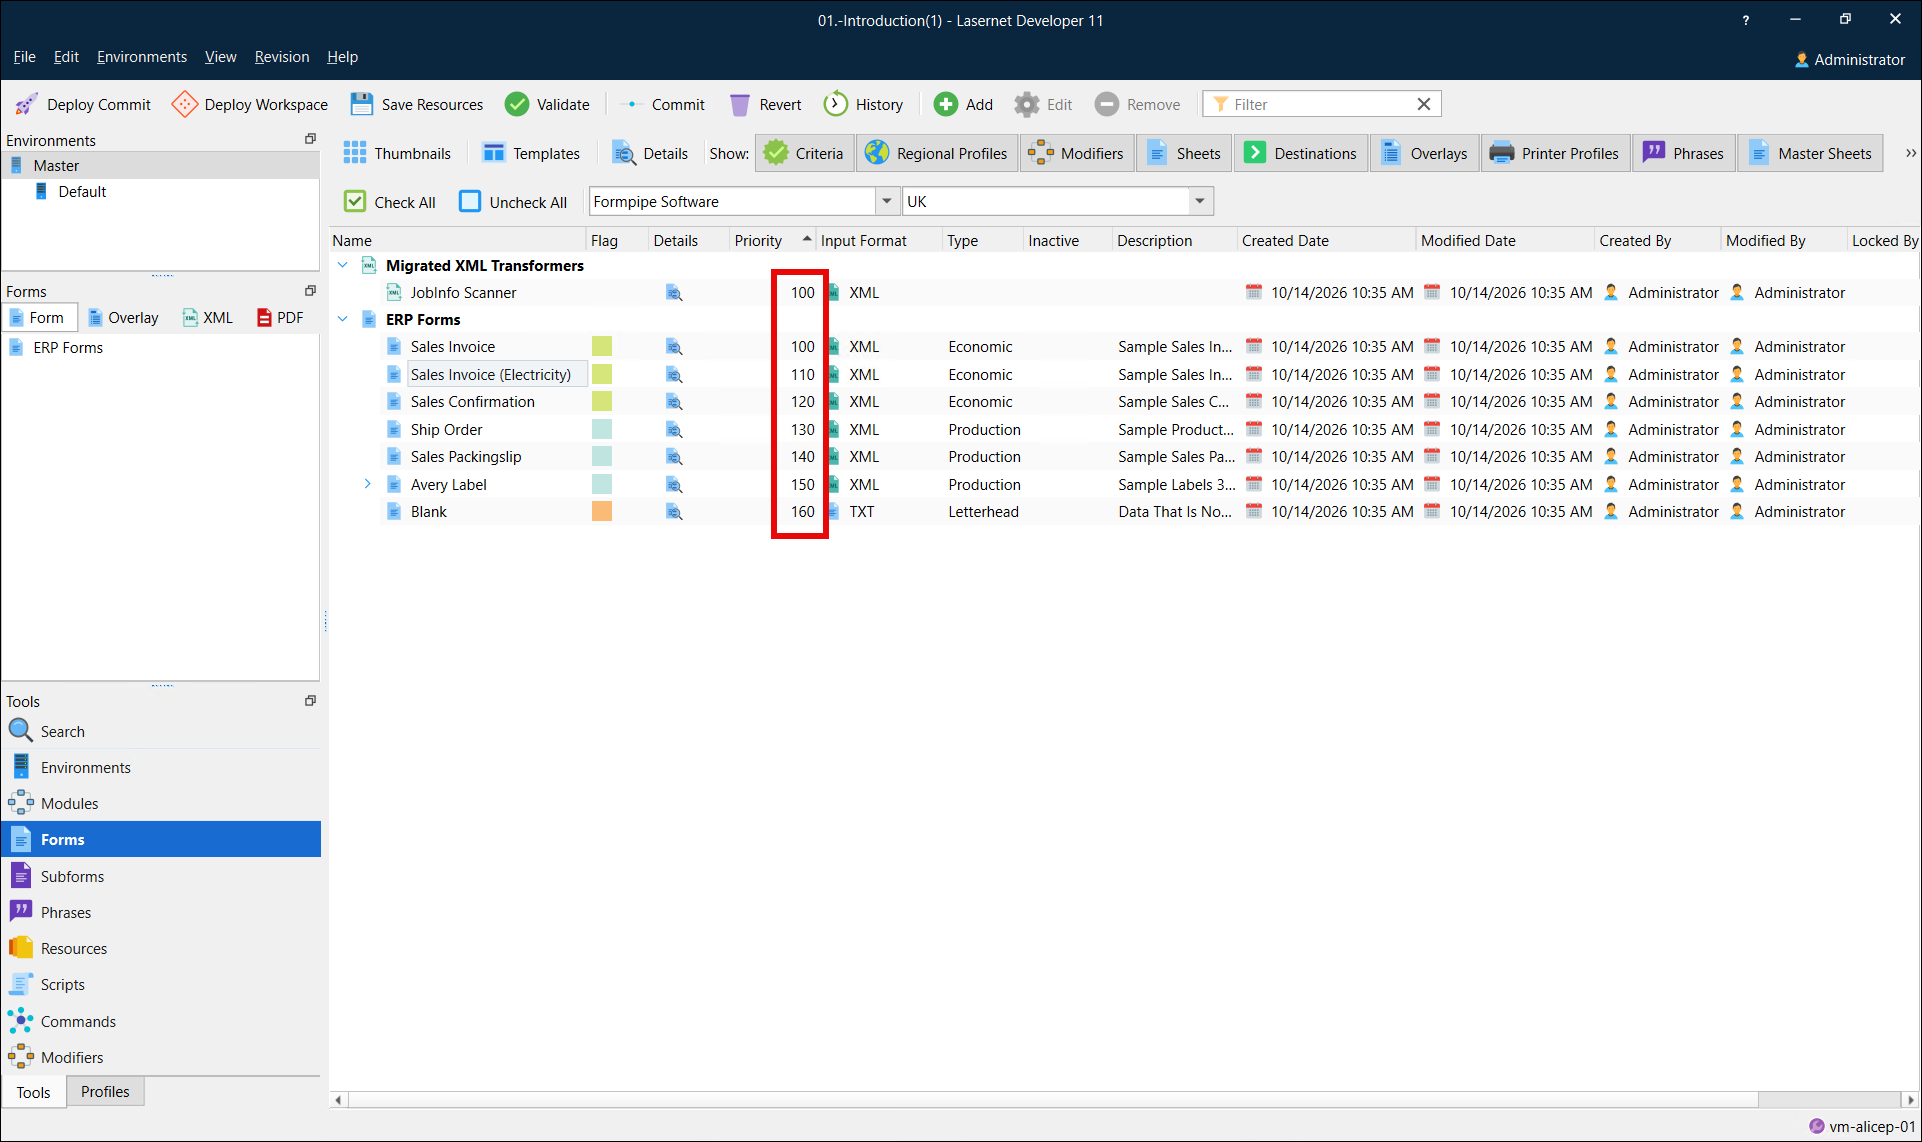
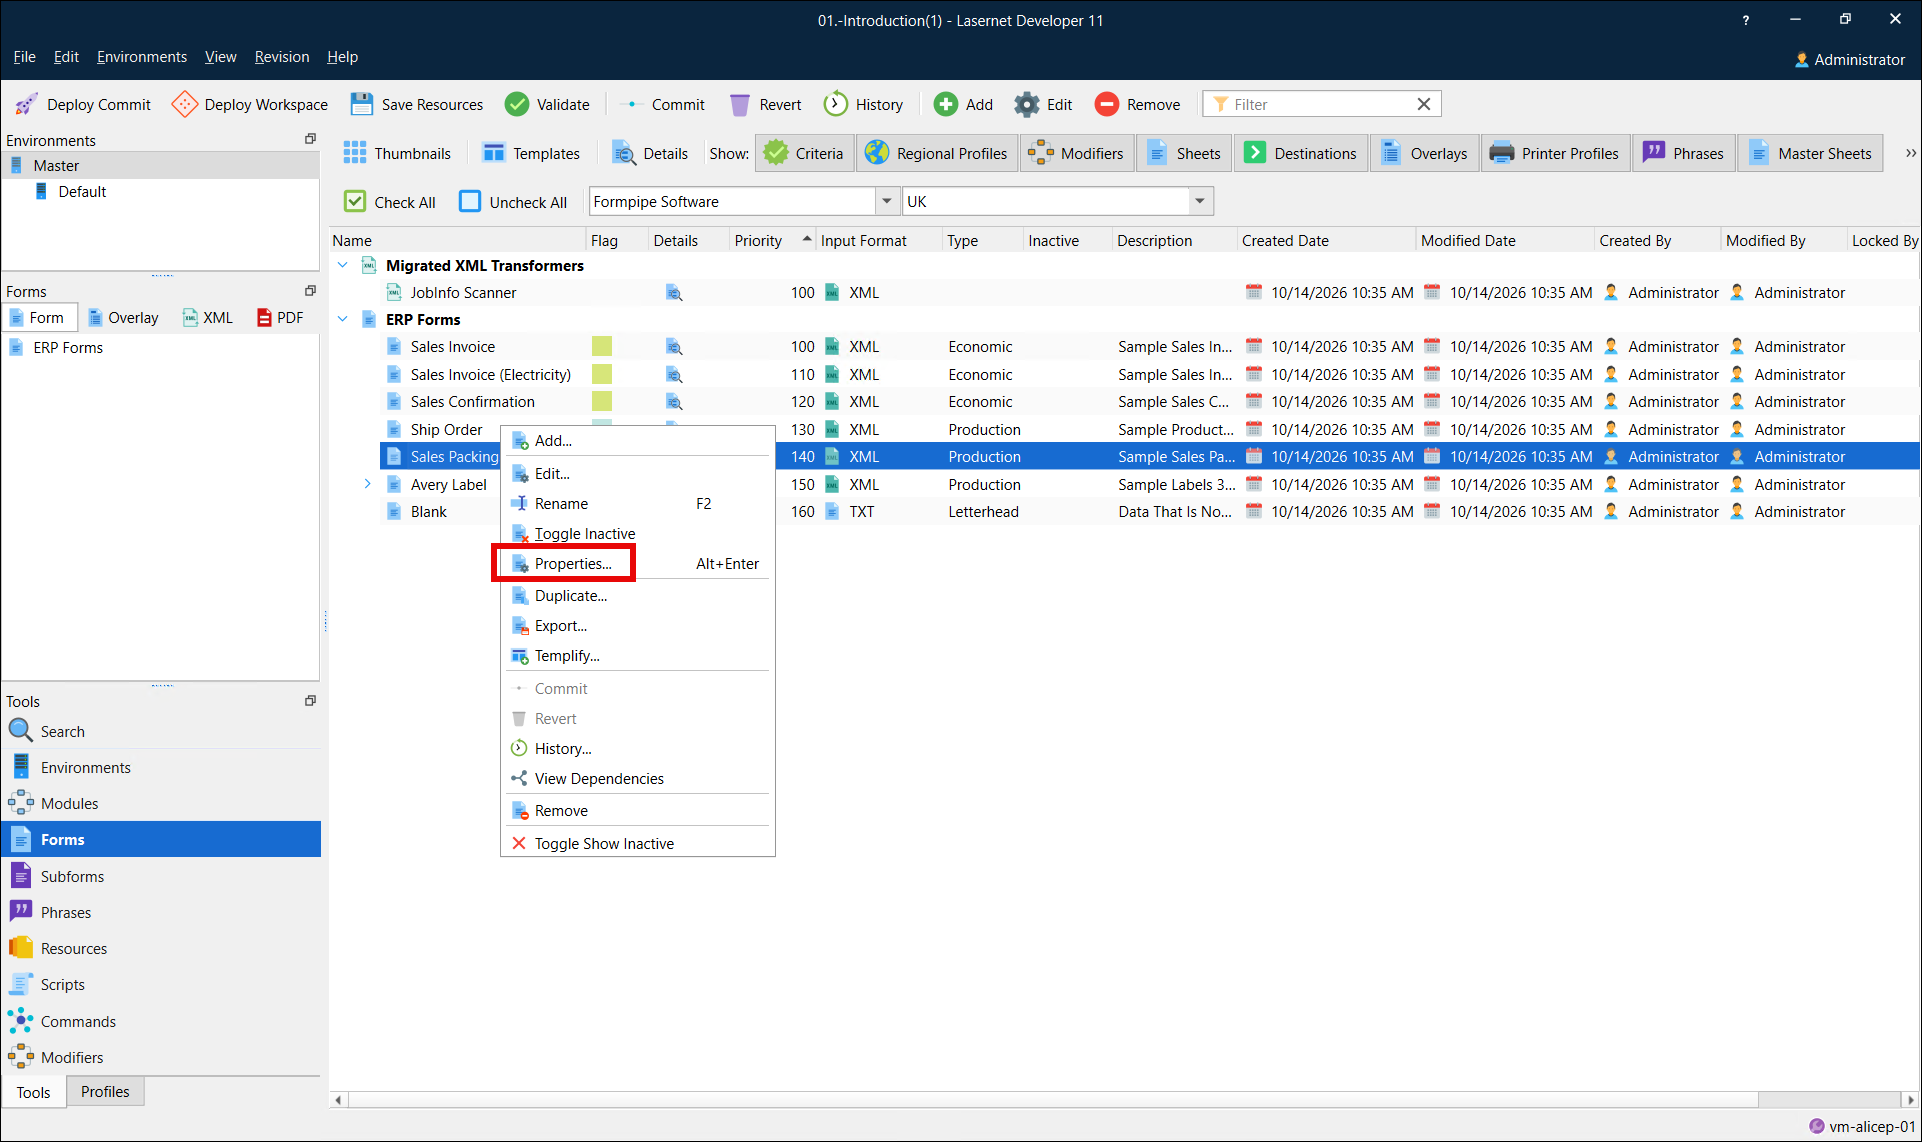
Right-click a form and then select Properties on the context menu to add or edit a form’s priority.
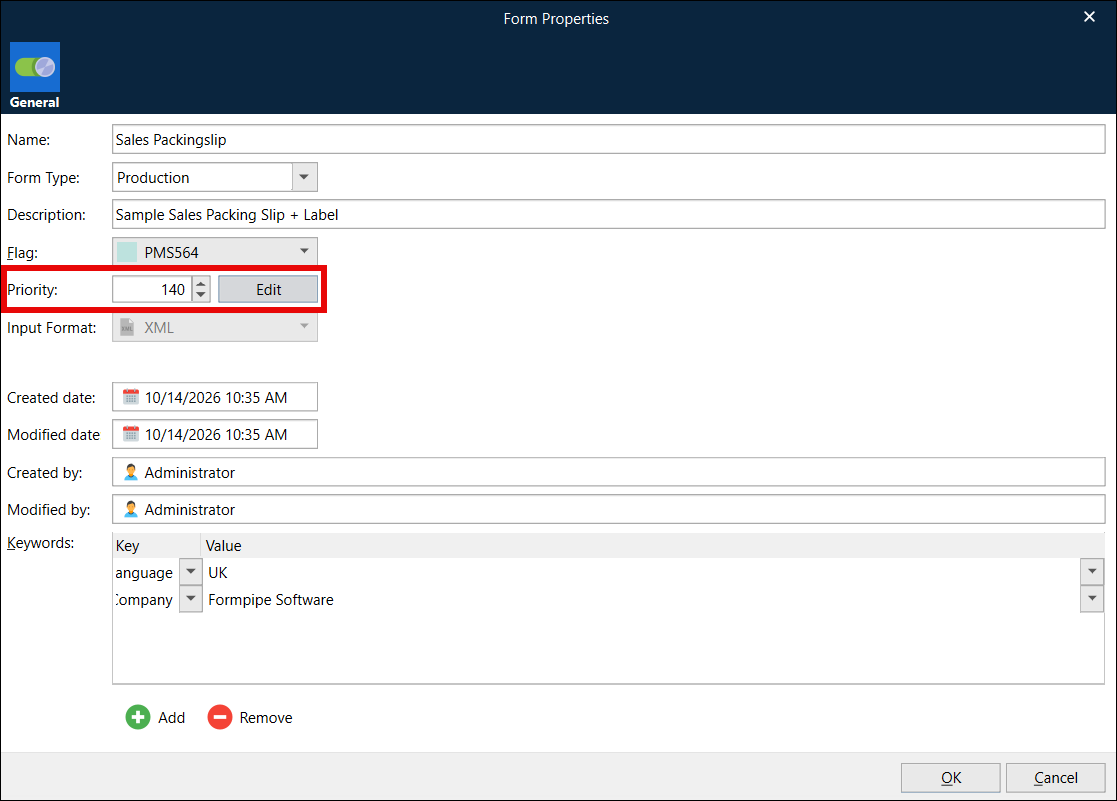
Click the Edit button, and then specify a Priority value.
User Interface
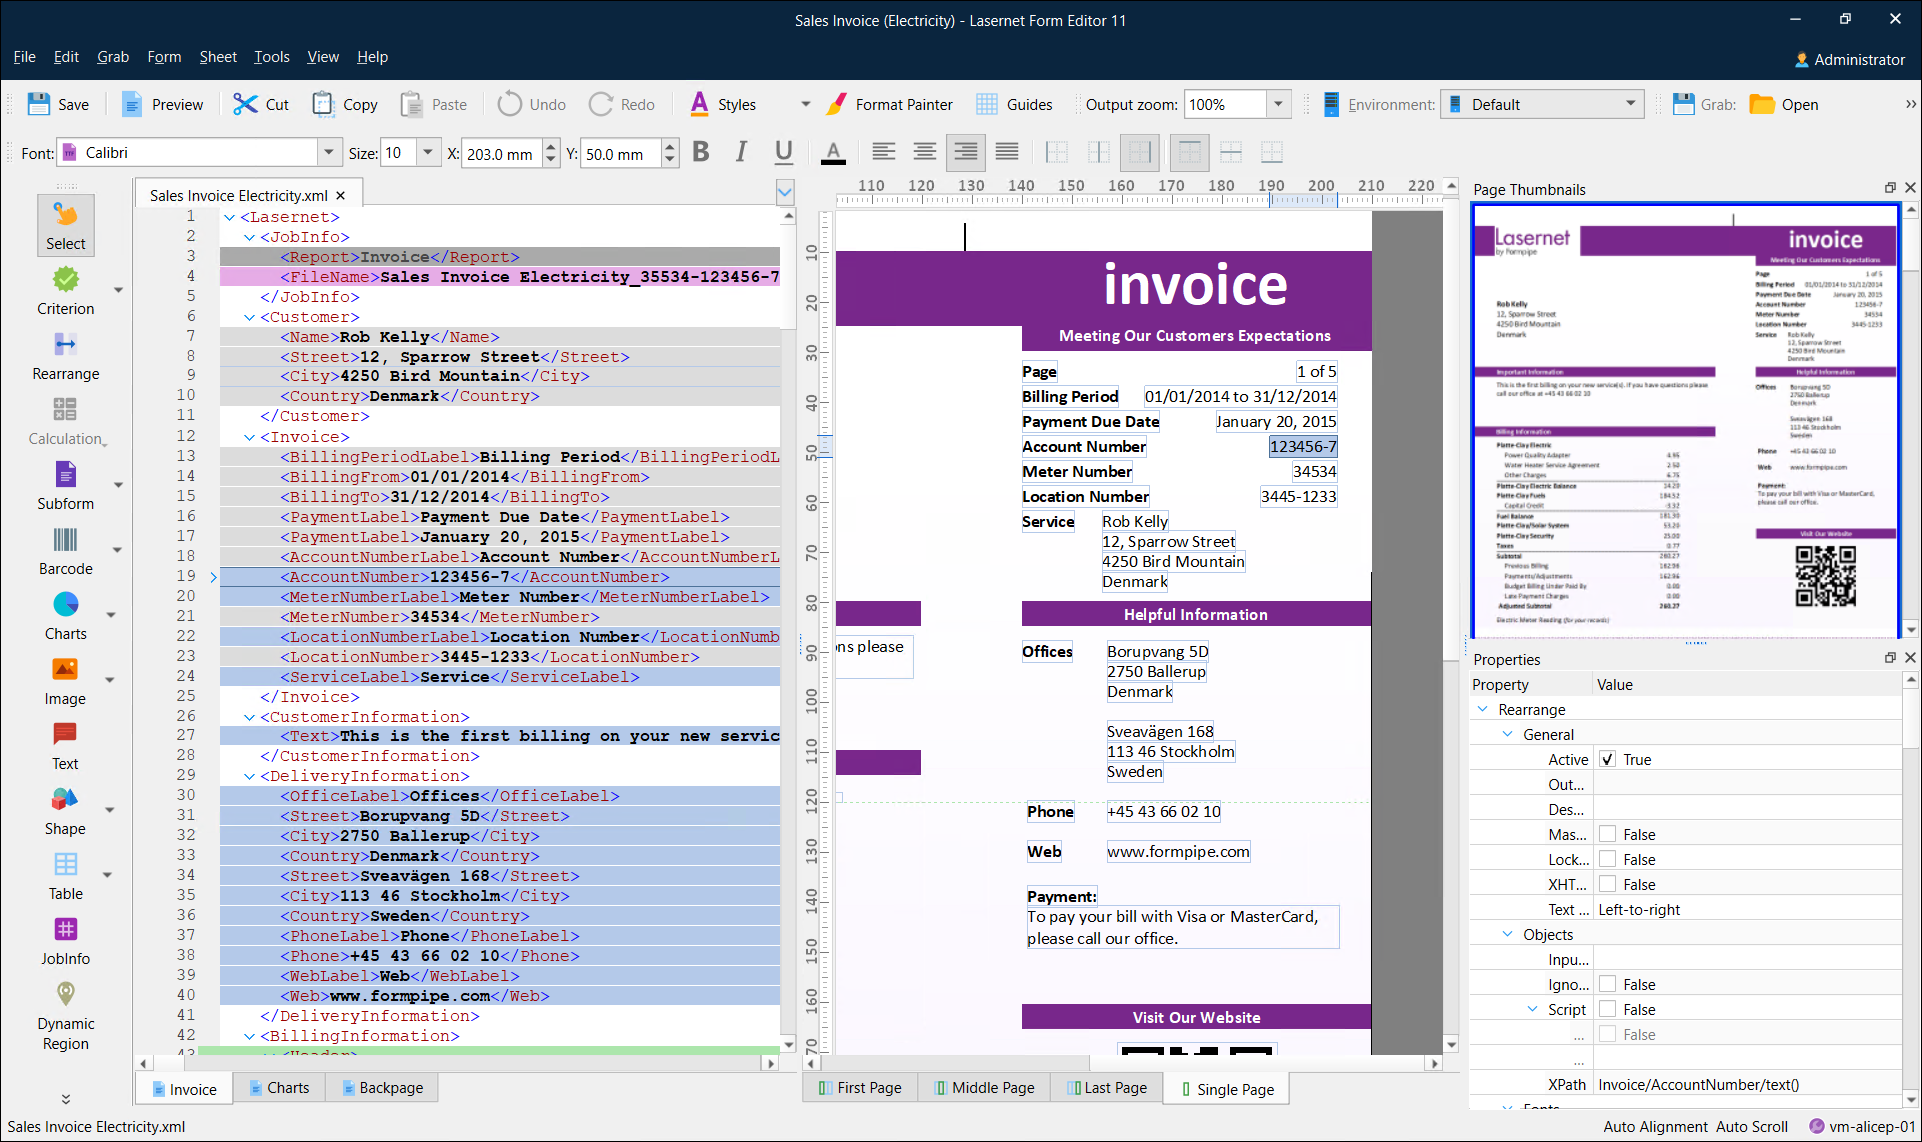
This section outlines the main elements of the Lasernet Form Editor user interface and introduces ways to use the environment to design and maintain forms and reports.
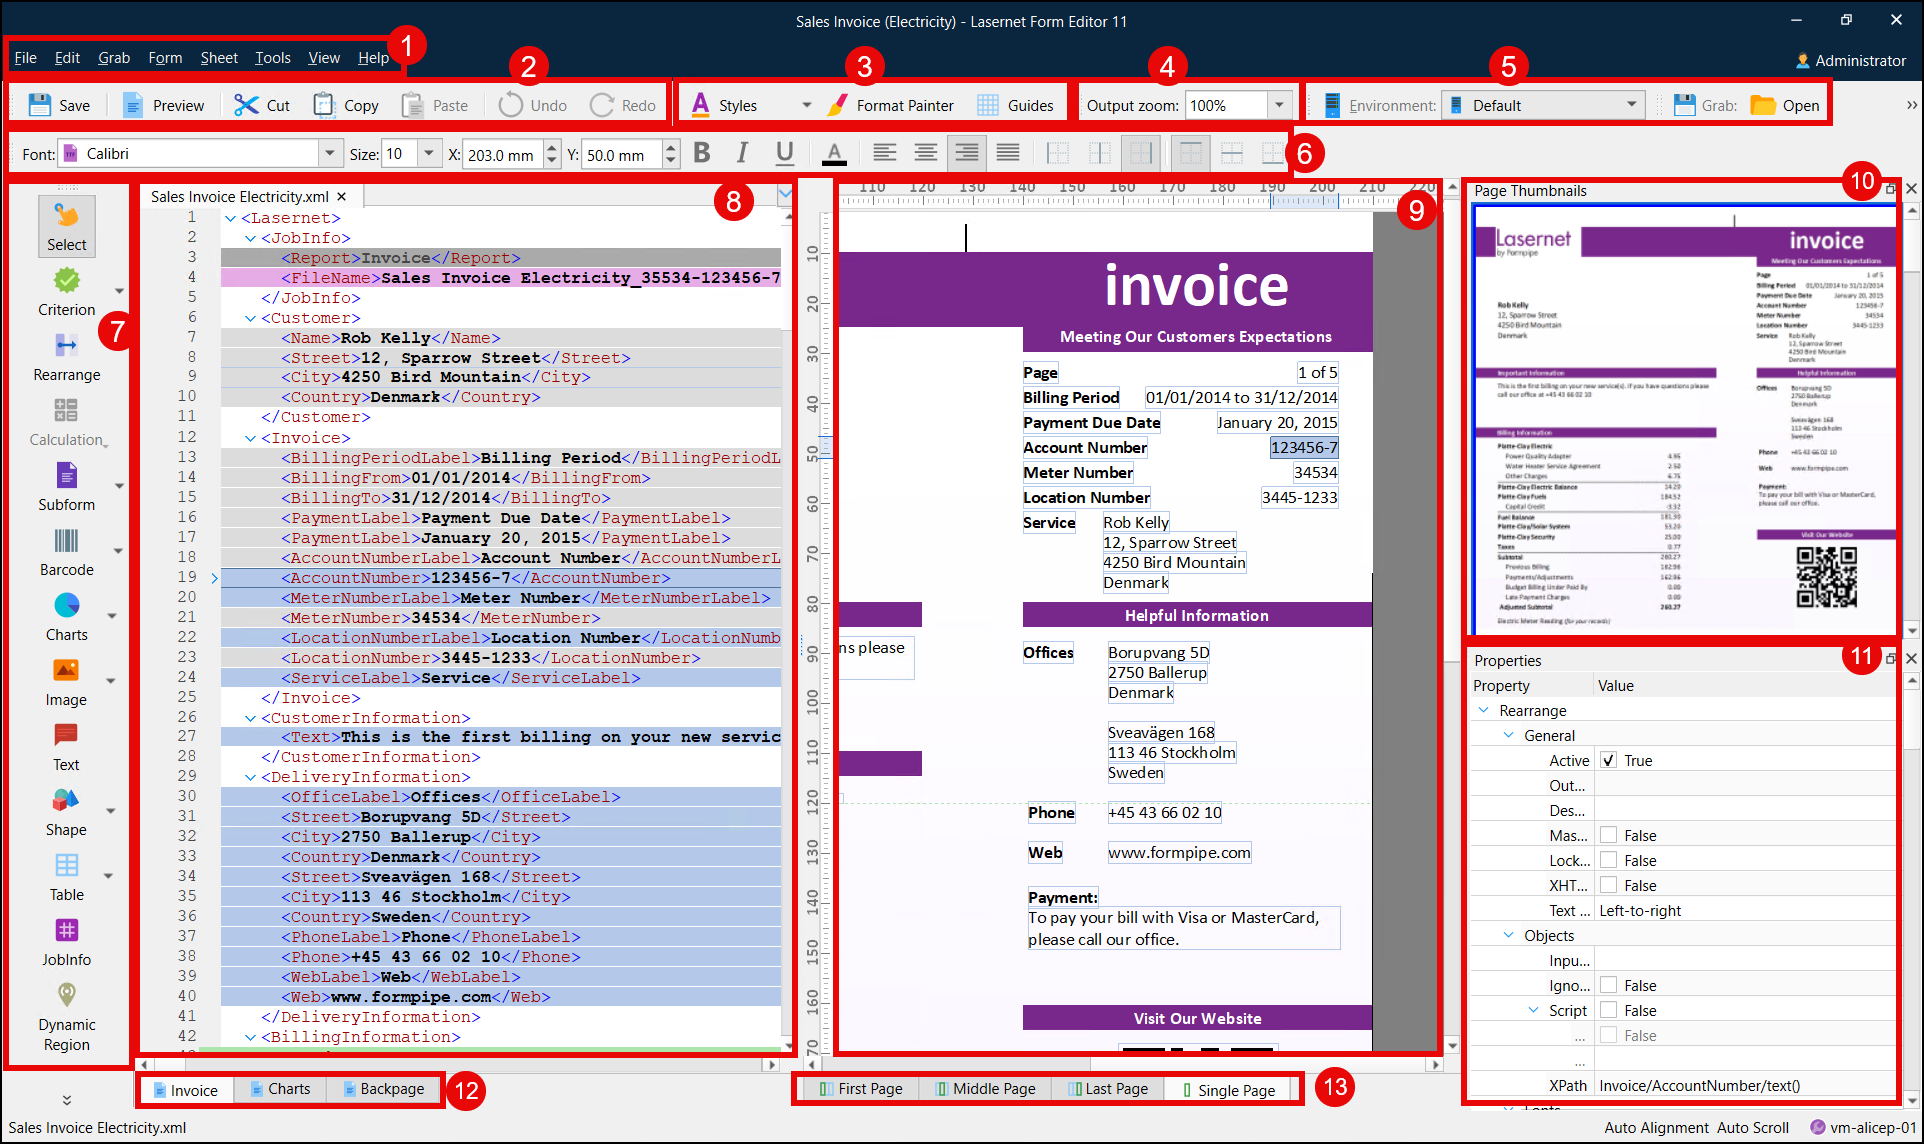
Menu Bar (1)
The menu bar provides access to all the application's functions and options.
Toolbar (2)
The toolbar provides access to useful tools such as Save, Print, Cut, Copy, Paste, Undo, and Redo. You can drag the toolbar to another location.
Styles and Format Painter (3)
The Styles and Format Painter tools can be used on rearranges and shapes.
Output Zoom Bar (4)
The output zoom bar enables you to control the zoom level of your design. You can drag the output zoom bar to another location.
Environment and Grab (5)
The Environment drop-down menu and the Grab button enable you to choose your environment and open a Grab file.
Property Bar (6)
The property bar contains tools and settings to change the font type, size, color, typeface and justification, and to position text boxes. You can drag the property bar to another location.
Developer Toolbar (7)
The developer toolbar provides access to tools for defining criteria, creating JobInfos, rearranging input texts, defining conditional areas and patterns, and inserting static texts, lines, shapes, and images into the form design.
The window where you design your forms is split in two, with a data input view on the left side and the output form design on the right side:
Input View (8)
The left side contains the original data received from the administrative system. This data is shown as the ASCII text in rows and columns or as an XML tree structure.
Output View (9)
The right side contains the actual form design and enables you to add text and data and change fonts and font sizes.
Page Thumbnails (10)
The panel shows a preview of all pages in the open form. It can be opened from the View menu.
Property Editor (11)
The panel shows all settings for the selected rearrange and can be opened from the View menu. Multiple rearranges can be selected to edit multiple properties at the same time.
Sheet Tabs (12)
The sheet tabs reflect the number of sheets, which depends on the number of copies made. Sheets can have different destinations. Click the relevant tab to open a sheet. You can add or copy a sheet, as well as access sheet options by right-clicking the sheet tab. The first ten sheets can also be selected by pressing CTRL+1, CTRL+2, and so on.
Page Tab (13)
The First Page, Middle Page, Last Page, and Single Page tabs are used to create a form with different designs according to the number of pages generated for a specific report. Click the relevant tab to open a page. Access additional options by right-clicking a page tab. Pages can also be selected by pressing ALT+1, ALT+2, ALT+3, and ALT+4.