

Password-protecting PDF documents generated by Lasernet adds an additional layer of security to protect potentially sensitive data.
For a visual demonstration of this functionality, watch our dedicated video.
Password Protection Types
Two types of password protection can be assigned to PDF documents:
User password protection
Owner password protection
Both user and owner password protection entail different types of limitations:
Area | User password protection | Owner password protection |
|---|---|---|
PDF/A Compliant | Not Allowed | Not Allowed |
Printing | Not Allowed | Allowed |
Document Assembly | Not Allowed | Not Allowed |
Content Copying | Not Allowed | Allowed |
Content Copying for Accessibility | Not Allowed | Allowed |
Page Extraction | Not Allowed | Not Allowed |
Commenting | Not Allowed | Allowed |
Filling of Form Fields | Not Allowed | Allowed |
Signing | Not Allowed | Not Allowed |
Creation of Template Pages | Not Allowed | Allowed |
Attachment | Not Allowed | Allowed |
File Type Conversion | Not Allowed | Not Allowed |
Apply Password Protection to PDFs Generated by a PDF Engine Module
To create a PDF security modifier and password-protect documents generated by a PDF Engine module, follow these steps:
Start Lasernet Developer.
Click Tools at the bottom-left of the window, then click Modifiers (see 1 in the image below).
In the toolbar (at the top of the window), click Add (2). The Add Modifier window opens.
(9).png "image (4)(9).png")
Select PDF Security, then click Ok. The Properties window for the new modifier opens.

Click the Setup tab in the modifier’s Properties window, then click the Encrypt tab.
On the Encrypt tab:
Select the Encrypt checkbox.
Enter passwords into User password, Owner password, or both.
Click Ok.
(12).png "image (6)(12).png")
As stated in the limitations table, assigning a password prevents Lasernet from generating a PDF/A-compliant document. As a result, you must configure the PDF Engine module to not create PDF/A documents:
Click Tools at the bottom-left of the Lasernet Developer window, then click Modules.
Double-click the PDF Engine module in the Lasernet Core workflow.
In the Properties window for the PDF Engine module, click the Setup tab, then clear the PDF/A Compliant checkbox (see image below).
(10).png "image (7)(10).png")
To apply the password protection to the Lasernet Core workflow, add your PDF Security modifier to any modifier point on or after the exit modifier point of the PDF Engine module. To add it as an exit modifier on the PDF Engine module, click the Exit Modifiers tab in the PDF Engine’s Properties window (indicated in red in the image above), then add the modifier there.
Apply Password Protection to PDFs Generated by a PDF Form
Instead of creating a PDF Engine module and a PDF Security modifier, you can apply security settings directly to PDF sheets in your form:
Open your form in Lasernet Form Editor.
Create a PDF sheet in the form.
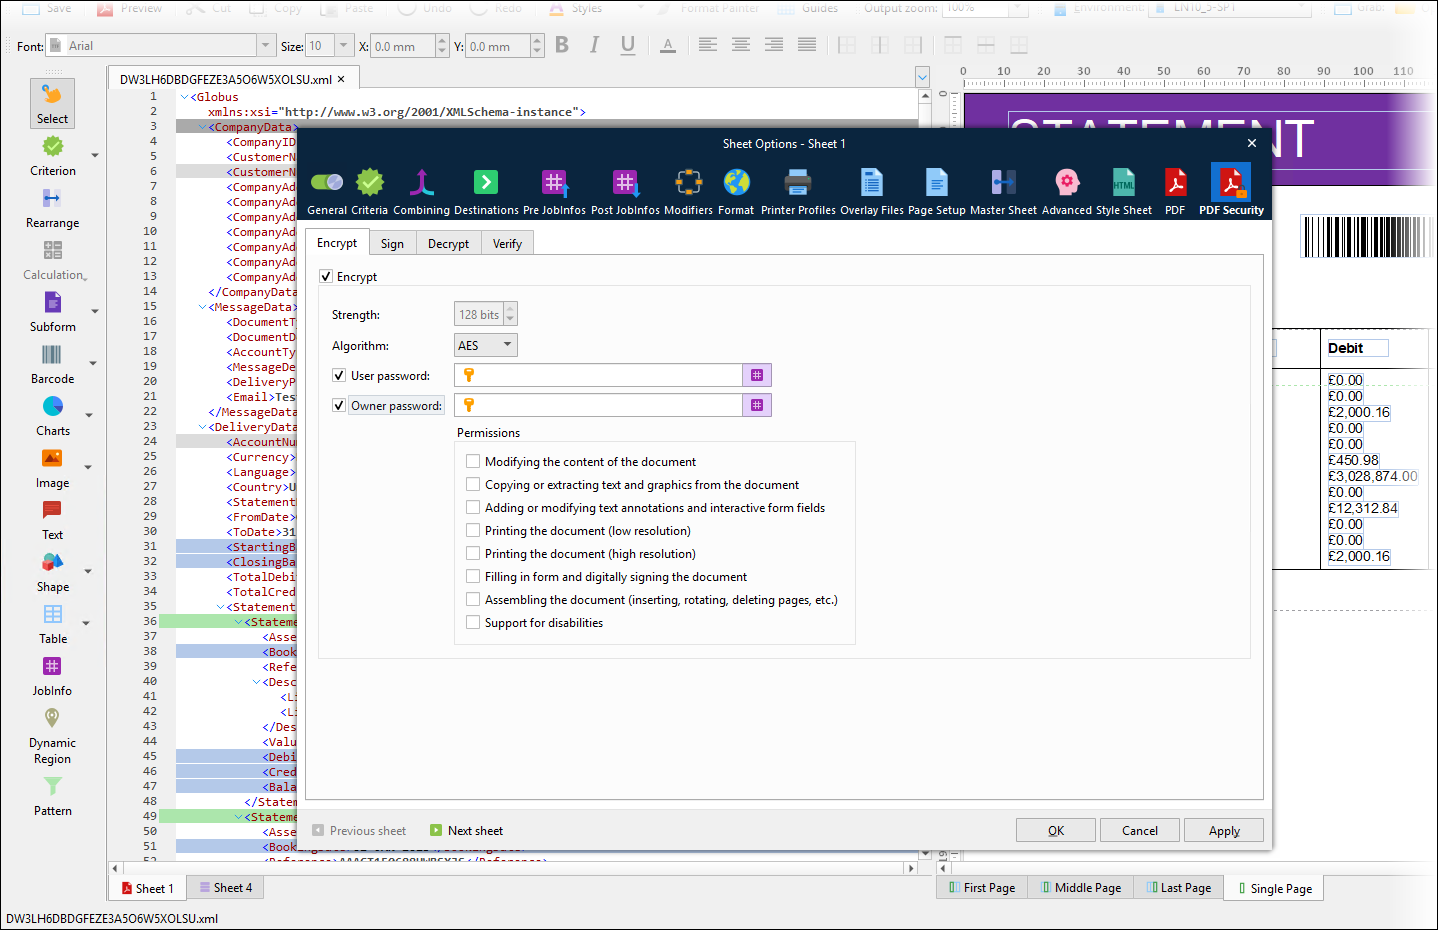
Open the PDF sheet’s Sheet Options window, then click the PDF Security tab.
Click the Encrypt tab.
Set PDF security options on this tab.
Click OK.
Open the Generated File
When a user opens the PDF document generated by Lasernet, a password input window opens. To open the PDF file, the user must enter the appropriate password. When working on the file, keep in mind its limitations due to its password protection.
Warning
If the password is no longer known, the document cannot be opened.
Use JobInfos to Define Passwords
Lasernet modifiers and modules generally enable JobInfos to be used by typing # (hash) before and after the JobInfo’s name. JobInfos can also be used to set passwords in the PDF Security modifier. For an example of this, see the value of the Owner password property in the image under step 6. The JobInfo’s value must be set prior to the document reaching this modifier.