Applies to: Lasernet Core 10
Exporting and importing single objects between configurations is only recommended between the same major versions of Lasernet Core. This is due to potential configuration formats changing between versions. Otherwise, you must import a full configuration, which will migrate objects to the Lasernet Core 10 format, before an export and import of a single object is recommended. Note: As an experimental feature, Lasernet Developer does not prevent the import of objects in an older format, however results are not guaranteed.
Note
Printer Profiles are not objects and, therefore, cannot be seen in the object list when using "File - Export Objects". However, Printer Profiles are linked to the Printer Output objects for which they were created. When you export a Printer Output object, any associated Printer Profiles will be included with that object, making them available when you import the printer into another configuration.
You cannot select individual printer profiles under the printer object when exporting. All associated printer profiles will be included in the .lnobjectx export file.
Export
There are two ways of exporting objects from a Lasernet Core configuration.
1. Use the context popup menu when you right click an object.
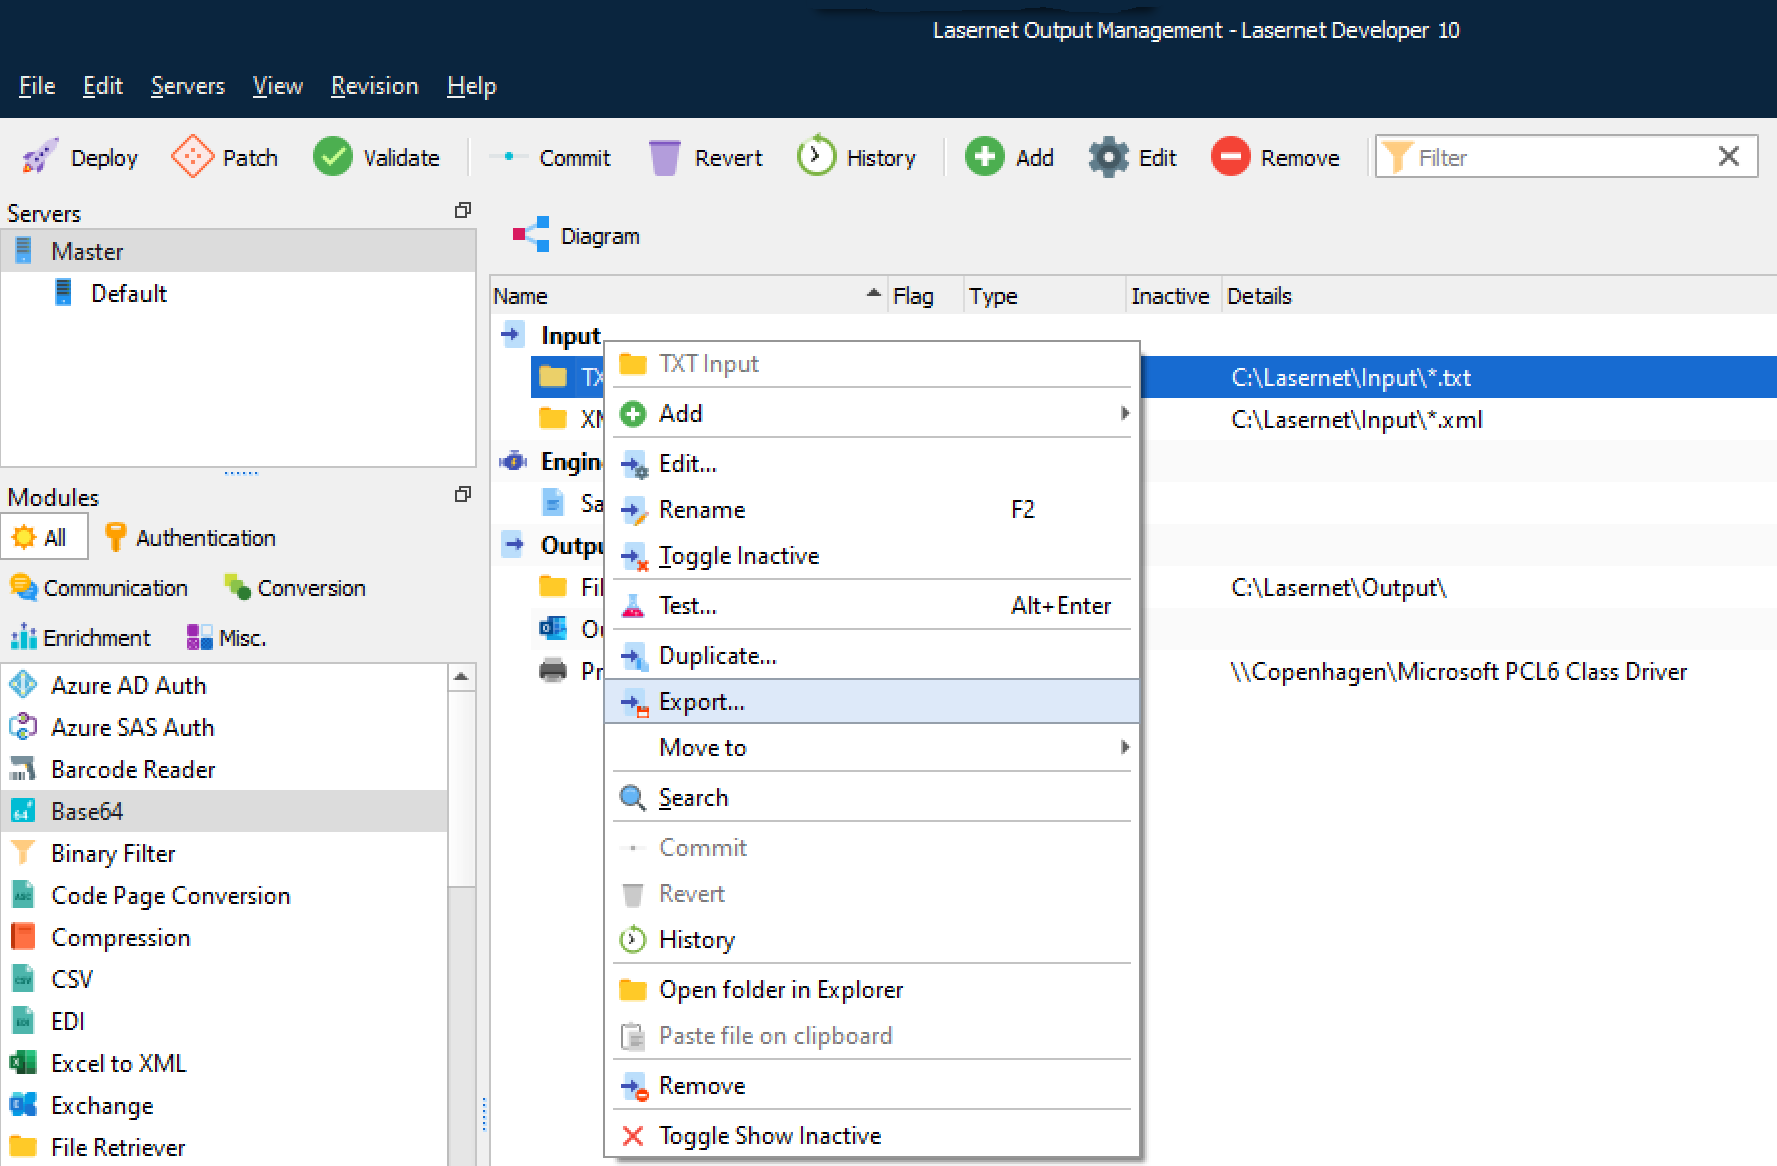
Lasernet Core will then prompt you for a folder to export to. Here a ‘.settings’ file will be saved along with any accompanying files.
2. From the File main menu, multiple objects of any type can be exported.
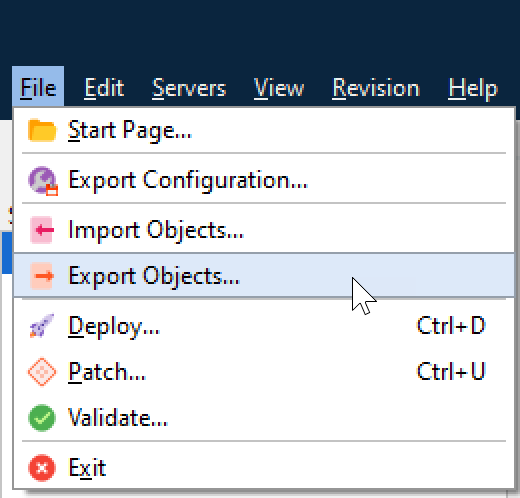
A dialog is displayed where one or more objects can be selected.
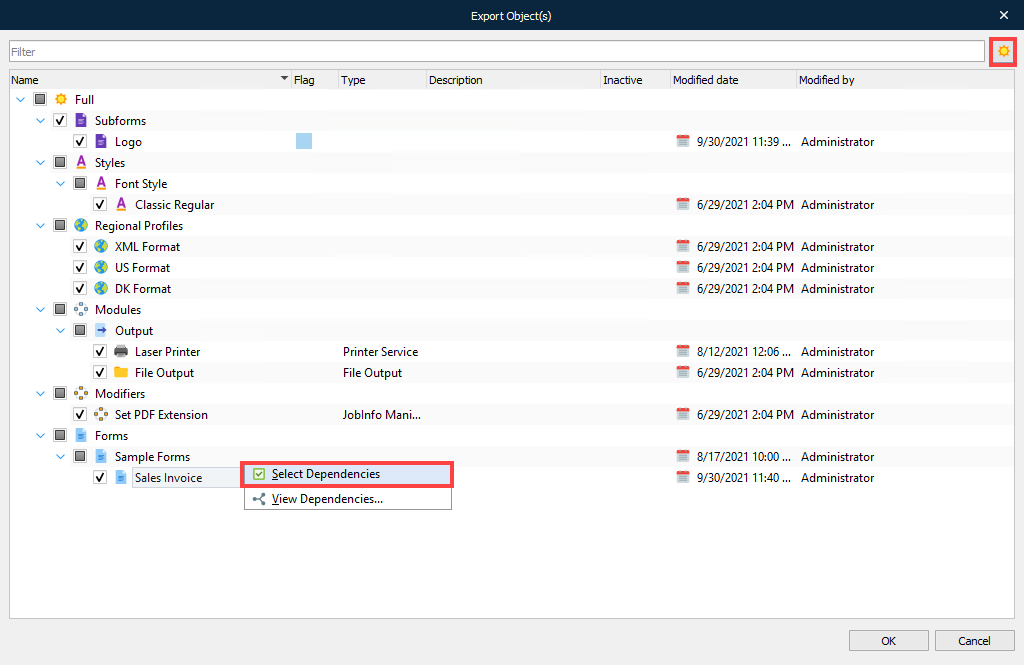
You can select any type of forms and modules of the following by clicking the relevant checkbox:
A full configuration
A group of objects
An individual object
Click the  icon to toggle between showing either all objects, or just the selected objects.
Dependency Walker
You can right-click an individual object to display the following options:
Select Dependencies: Lasernet Developer will automatically select all dependent objects.
Note
Lasernet Developer will not show:
More than one level of dependencies
References used by script functions
References from JobInfo Substitution
DataType profiles used from Web Server input
Database Connections added to SharePoint module
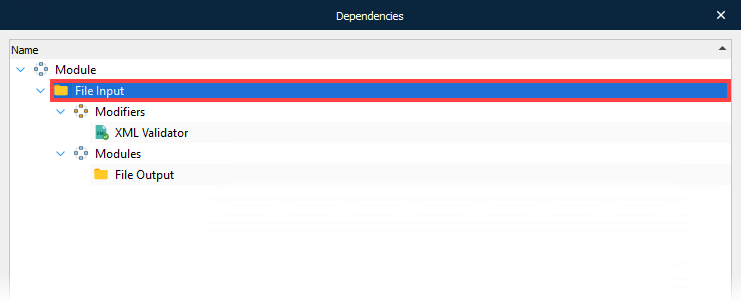
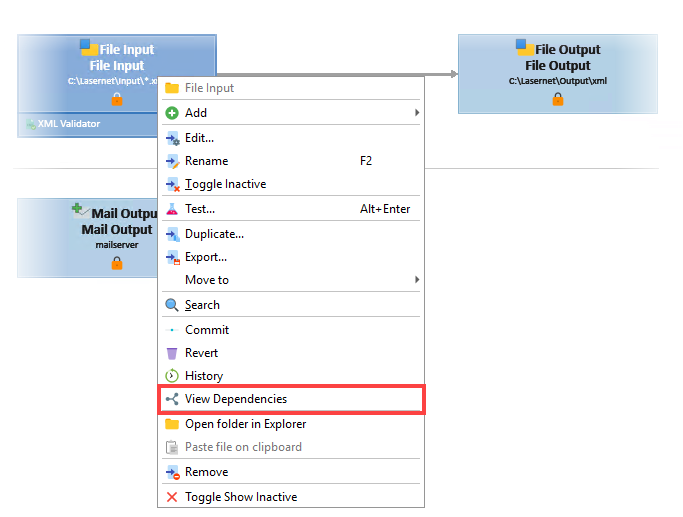
View Dependencies: Displays all dependencies to the selected object.
Click OK and a prompt will ask for a folder to export to.
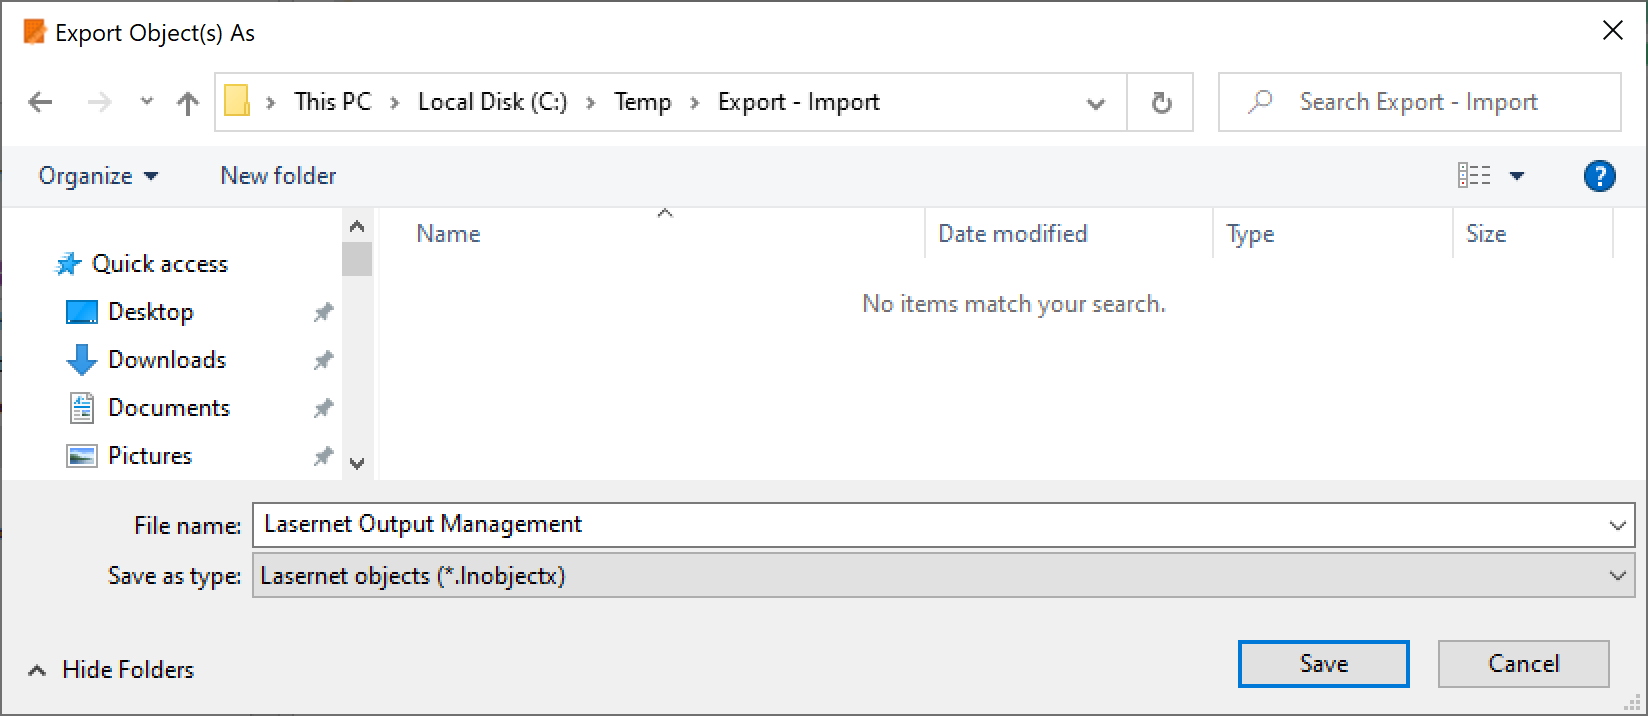
Select a drive and a folder. Type a new file name or select the name of the configuration (default value). The extension of an exported package is .lnobjectx.
Note
You can also select View Dependencies by right-clicking a module or form.
Import
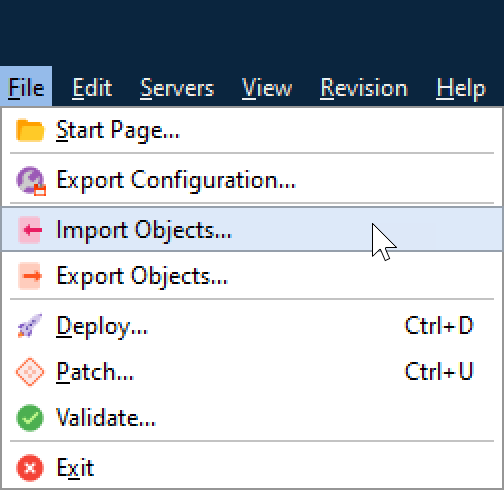
Importing is done from the File main menu.
A file browser dialog is displayed where one or more exported ‘.settings’ files can be selected.
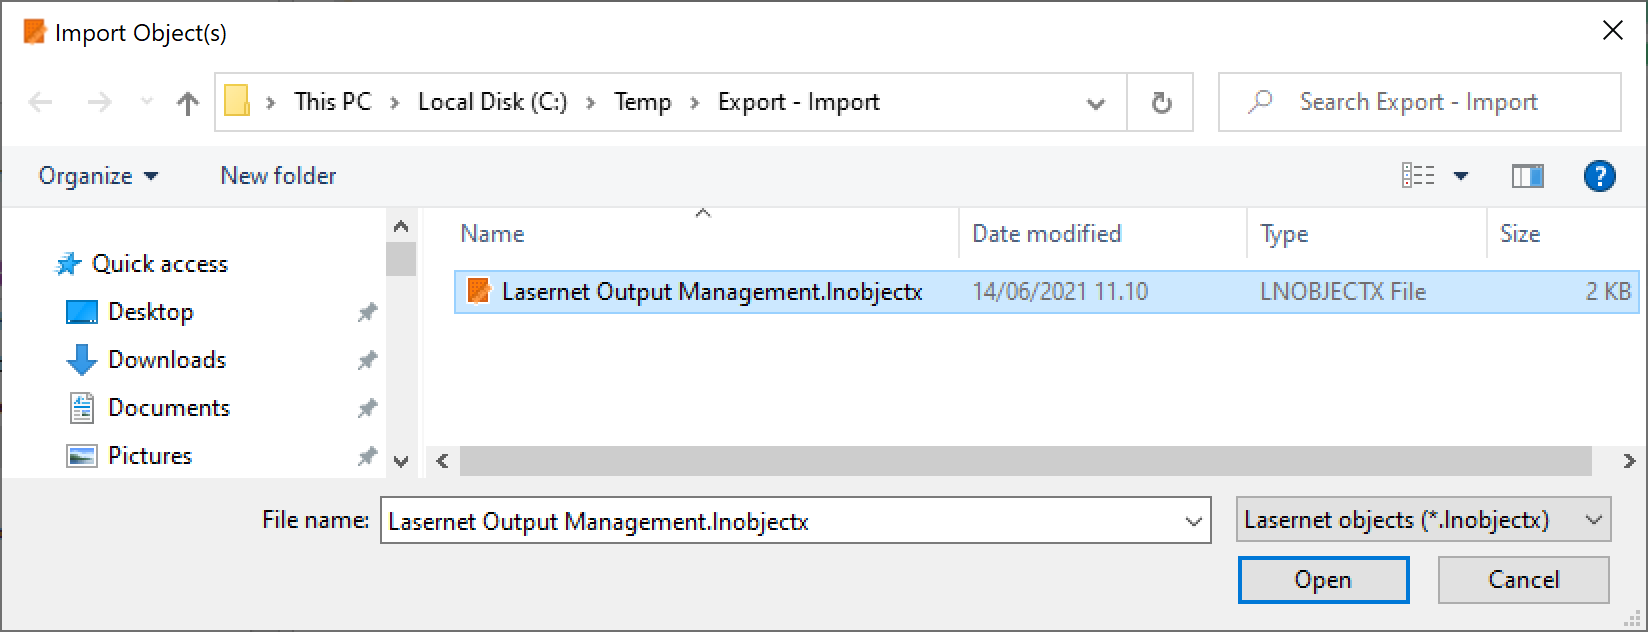
When the folder has been chosen you can select all available objects (Full) that are found in the folder, or you can select specific objects for your import.
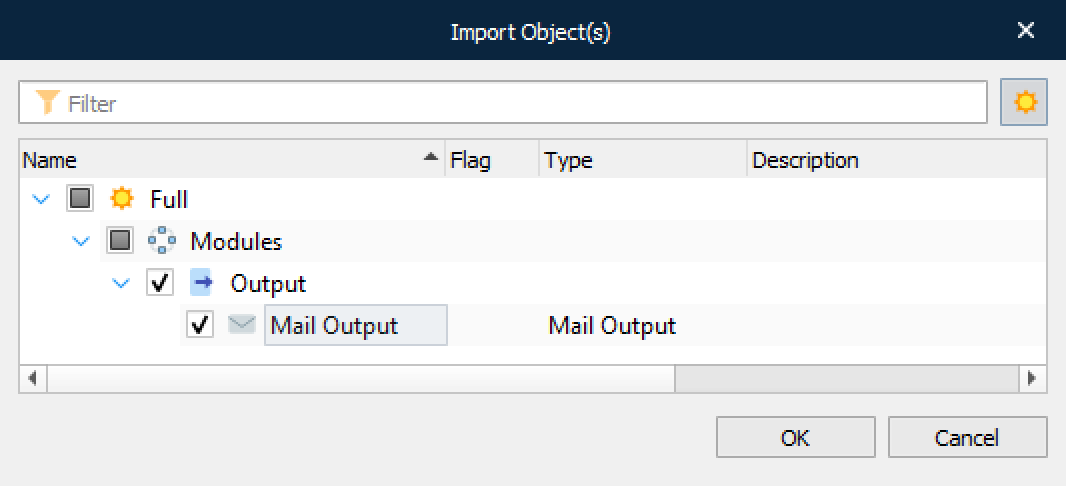
While importing, a progress screen is displayed where the current object can be seen.
It is important to note:
Imported objects are linked to the ‘Master’ server.
If the object name already exists a prefix “_1” will be added to the object name.
Modified fields are cleared and created fields are updated with current date, time and user.
When importing a Database Connection from another setup, please note that the setting for the Connection Name will be lost and a “Deleted” text will appear instead. You must manually assign it to an existing Database Connection in your setup. This is because the connection is not imported with the original GUID and is assigned a new one instead (meaning the Command refers to an unknown connection).
Export and Import of Database Commands
Important
A Database Command contains within it a reference to a Database Connection. After exporting and importing Database Commands between different configurations, the value for the Database Connection will be marked as “DELETED!”, as a valid GUID to the Database Command no longer exists.
To fix this, enter the properties for the Database Command and manually choose one of the available Database Connections listed in the configuration.